
Lawn
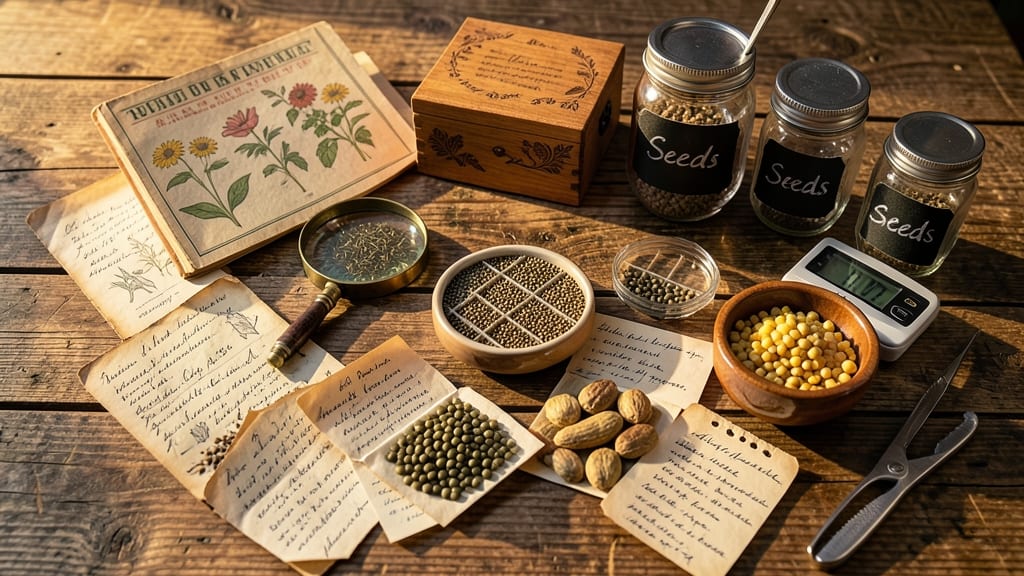
Saving seeds from your garden isn’t just about replanting—it’s about keeping heirloom varieties alive for future generations. 🌱 The Seed Savers Exchange connects gardeners who want to preserve biodiversity, share rare seeds, and grow plants with real history.
This isn’t just gardening; it’s a movement to protect flavors and traits that grocery stores have forgotten.
Joining is simple: find local seed libraries, trade seeds online, or start your own network. The real magic happens when you save seeds at home—just let a few tomatoes ripen on the vine, dry them properly, and store them in a cool, dark place.
You’ll end up with seeds that produce plants just like their parents, year after year.
This exchange saves more than seeds—it preserves stories. Imagine passing down a pepper variety named after your grandmother or growing tomatoes that taste like childhood summers. Every seed you save keeps these traditions growing, one garden at a time.
Legalities are straightforward: most heirloom seeds are open-pollinated, so you can freely share and replant. Just avoid patented hybrids, and you’re good to go. Start small, save a few favorites, and watch your garden—and your legacy—flourish.
📚 In This Guide
- What you need
- Instructions
- Tips and common mistakes
- Wrapping up and next steps
What you need
- ● Heirloom Seeds: Start with open-pollinated or heirloom seeds (2–5 varieties to begin). Check the blank">Seed Savers Exchange catalog for approved varieties.
- ● Growing Containers: Pots or trays (5–10 inches deep) – 2–4 per seed variety.
- ● Garden beds or raised beds (if outdoors) – 6+ inches of soil depth.
- ● Potting Soil: High-quality, well-draining mix (1–2 bags, ~1 cubic foot each).
- ● Watering Can or Hose: With a gentle spray nozzle for seedlings.
- ● Labels & Markers: Waterproof tags or masking tape + permanent marker to track varieties.
- ● Scissors or Pruners: For harvesting mature plants cleanly.
- ● Paper Envelopes or Seed Packets: For drying and storing seeds (1–2 per variety).
- ○ Drying Rack or Screen: To air-dry seeds (optional but helpful).
- ● Grow Lights: For indoor seed starting (LED or fluorescent, 12–16 hours/day).
- ● Humidity Dome: To retain moisture for seedlings.
- ● Journal or App: To log pollination dates, plant traits, and seed viability.
- ● Hand Lens or Magnifier: For inspecting seed quality.
- ● Freezer or Desiccant Packets: For long-term seed storage (below 30% humidity).
How to start saving heirloom seeds for the seed Savers Exchange
Here's the straightforward method I use to preserve heirloom seeds—no fancy equipment needed.
🌱 Step 1: Select and Grow Healthy Plants
Choose the strongest, most vigorous plants in your garden for seed saving. Look for disease-free specimens with the best flavor and traits you want to preserve. I always pick the plant that thrives best in my climate—this ensures the seeds will grow well in similar conditions next year.
Allow the plants to fully mature and produce seed. For vegetables, this means letting them bolt (flower and set seed) naturally. Don't harvest them when they're young—wait until the seed pods are fully dry and brown. For example, tomato seeds need to ripen completely on the vine before removal.
🌿 Step 2: Harvest and Dry the Seeds
Once the seed pods are fully mature, harvest them carefully. For tomatoes, cut open the fruit and scoop out the gel and seeds. Rinse the seeds in a fine-mesh strainer under cool water to remove the pulp. The seeds will sink while the pulp washes away—this is your signal they're clean.
Spread the seeds in a single layer on a paper towel or seed-saving envelope. Place them in a warm, dry spot with good air circulation. I like to use a mesh bag or a piece of screen over a box fan to speed up drying. The seeds are ready when they're completely dry and hard to the touch—usually within 7-10 days.
⏰ Step 3: Store Seeds Properly
Once dry, transfer the seeds into labeled envelopes or small glass jars. I always include the variety name, harvest date, and any special notes (like "resistant to powdery mildew"). Store them in a cool, dark place—like a refrigerator or seed vault—where they'll stay viable for years.
For best results, keep the humidity low. A small packet of silica gel in the storage container helps absorb any moisture. Tested seeds last 3-5 years in these conditions, though some varieties like lettuce may only stay viable for 1-2 years. Always label clearly—next year's you won't remember what's what!
📝 Step 4: Document and Share
Record details about each seed variety in a garden journal. Note growing conditions, any pests or diseases you observed, and how the plants performed. This helps track traits over generations and improves future plantings. I include photos of the mature plants and seeds for reference.
When ready, share your seeds with the Seed Savers Exchange or local gardening groups. Include your notes and any special growing tips. The more information you provide, the more valuable your seeds become to other gardeners. This is how heirloom varieties stay alive—through community and careful preservation.
Tips & tricks for preserving heirloom seeds
Here's what nobody tells you about keeping heirloom seeds viable for years—these tricks make all the difference.
Plant Selection Matters: In Step 1, when choosing your healthiest plants, focus on those that thrive in your specific climate and soil conditions. I've learned the hard way that saving seeds from plants that struggle in your garden can lead to disappointing results next year. Look for plants that produce abundant, disease-free flowers and fruits—these are your best candidates for seed saving.
Drying Technique Tip: During the 7-10 day drying process in Step 2, I've found that using a small fan on low speed creates ideal air circulation without blowing seeds around. Place a fine mesh screen over a box fan and prop it up slightly to create a gentle breeze. This speeds up drying while preventing seeds from scattering—no more lost seeds on the floor!
Storage Wisdom: For Step 3, when storing seeds, I recommend using small glass jars with tight-sealing lids instead of envelopes. Glass doesn't absorb moisture like paper does, and the dark glass blocks light that can degrade seed viability. Place your jars in the back of your refrigerator where it's consistently cool and dark—this mimics ideal seed bank conditions right in your home.
Documentation Hack: When documenting in Step 4, I keep a simple spreadsheet with columns for variety name, harvest date, growing conditions, and any special notes. This makes it easy to sort and compare varieties later. I also include a small photo of each seed packet—next year, you'll be grateful you didn't have to remember which seeds were which!
Pro Tips for Seed Savers Exchange
- Here's what nobody tells you about keeping heirloom seeds viable for years—these tricks make all the difference.
- Plant Selection Matters: In Step 1, when choosing your healthiest plants, focus on those that thrive in your specific climate and soil conditions.
- Drying Technique Tip: During the 7-10 day drying process in Step 2, I've found that using a small fan on low speed creates ideal air circulation without blowing seeds around.
Frequently asked questions
Got questions about saving seeds with Seed Savers Exchange? You’re not alone! Here are some common ones—and their answers—to help you get started on your seed-saving journey.
What’s the best time to harvest seeds from my plants?
The timing depends on the plant! For most vegetables, harvest seeds when the pods dry out and turn brown (e.g., tomatoes, beans). For flowers like zinnias, wait until the blooms wilt and the seed heads are crispy. Pro tip: Use a sharp knife to avoid damaging the plant, and store seeds in a cool, dry place until ready to package.
How long can I store seeds saved from Seed Savers Exchange?
With proper storage (cool, dark, and dry), many heirloom seeds stay viable for 3–5 years—some even longer! Check the seed packet for specifics. Pro tip: Label your seeds with the date to track freshness and germination rates.
Can I save seeds from hybrid plants?
Hybrid seeds (like F1 hybrids) often won’t grow true to type—meaning the next generation may not look like the parent plant. Stick to open-pollinated or heirloom varieties from Seed Savers Exchange for reliable results. Pro tip: Look for labels like “OP” (open-pollinated) or “heirloom” to ensure consistency.
What’s the easiest way to package seeds for long-term storage?
Use paper envelopes (moisture-resistant) or glass jars with silica gel packets. Avoid plastic, which can trap humidity. Label each with the plant name, variety, and harvest date. Pro tip: Store seeds in the fridge or freezer for extra longevity!
What if my seeds don’t germinate after saving them?
Don’t panic! Try these fixes:
- Check moisture: Seeds need consistent dampness (not soggy) to sprout.
- Test viability: Soak a few seeds in water—if they sink, they’re likely still good.
- Adjust conditions: Some seeds need light (like lettuce) or cold stratification (like apples).
Wrapping up and next steps
Joining the Seed Savers Exchange isn’t just about preserving seeds—it’s about keeping biodiversity alive, supporting sustainable gardening, and passing down a legacy of resilience. Whether you’re a seasoned gardener or just starting, your contribution, no matter how small, helps protect heirloom varieties for future generations. 🌱
Ready to take the next step? Start by saving seeds from your favorite plants this season, then share them with local groups or online communities. Your garden could be the seed bank that inspires others to grow—and preserve—together!