
Planting
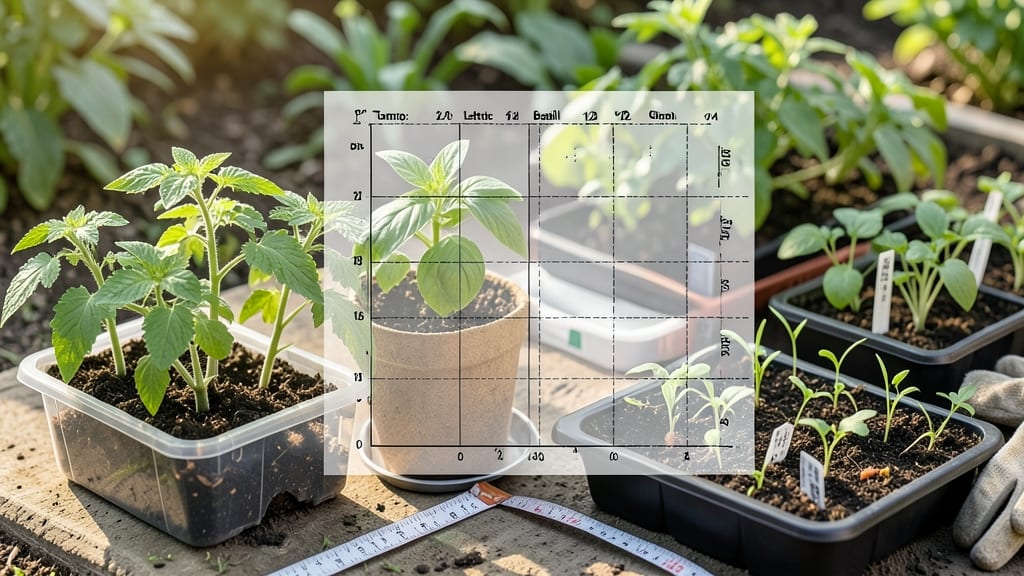
A seed spacing chart saved my first garden from becoming a tangled mess of stunted vegetables and sad-looking flowers. 🌱 I used to eyeball spacing—until I realized how much more my tomatoes yielded when planted 2 feet apart instead of 1 foot.
Precision planting isn't just about neat rows; it's about giving roots room to breathe, reducing competition for water, and preventing disease from spreading like wildfire in crowded beds.
The right spacing transforms a garden from a chaotic jungle into a thriving ecosystem. Too close? Plants fight for sunlight and nutrients, leading to weak stems and fewer fruits. Too far apart? You waste space—and that's precious real estate when you're working with a small yard or containers.
My 10x10-foot raised bed now produces enough zucchini to feed neighbors because I followed the spacing rules for squash (3 feet apart) instead of guessing.
By the end of summer, you'll see the difference: stronger plants, bigger harvests, and a garden that looks like it belongs in a catalog. The chart includes everything from leafy greens (4 inches apart) to sprawling melons (6 feet apart), plus adjustments for poor soil or high humidity.
No more guessing—just consistent results that make every seed worth its weight in soil.
Even if you're working with limited space, this system works. Containers? Use the "square foot gardening" method. Shady spots? Space plants slightly wider. The key is matching the plant's mature size to your growing conditions. Here's how to make it work for your garden—no matter how small or big.
📚 In This Guide
- What you need
- Instructions
- Tips and common mistakes
- Wrapping up and next steps
What you need
- ● Measuring tape or ruler: A 12-inch or 36-inch tape measure (or a yardstick) for precise spacing.
- ● Graph paper or grid template: 8.5” x 11” or larger (or use a digital tool like Excel or Google Sheets).
- ● Pencil and eraser: For sketching layouts and making adjustments.
- ● Seed packets or catalog: Check for recommended spacing for each plant variety (e.g., tomatoes, carrots, or herbs).
- ○ Calculator (optional but helpful): For scaling up your chart to garden bed sizes.
- ● Colored markers or highlighters: To differentiate plant types on your chart.
- ● Stakes or labels: Popsicle sticks or plant tags for marking rows in your actual garden.
- ● String and stakes: For creating visual guides in the garden bed before planting.
- ● Planting guidebook or app: For customizable spacing charts (e.g., GrowVeg, PlantSnap).
- ● Ruler with metric/imperial conversions: If working with both measurement systems.
Step-by-Step guide to using a seed spacing chart for perfect plant arrangement
Here’s how to space seeds like a pro—no guesswork, just consistent, high-yield results.
📏 Step 1: Choose the Right Spacing for Your Plant Type
Every seed has its own spacing needs—crowded plants compete for nutrients, while over-spaced ones waste garden space. Check a reliable seed spacing chart for your specific plants. For example, carrots need 1-2 inches apart, while sunflowers require 6-12 inches to avoid root competition. I always keep a printed chart handy while planting to avoid mistakes.
Pro tip: Group plants by their spacing needs. Place fast-growing, small plants like radishes (1 inch apart) near the edges, while larger, slower-growing plants like tomatoes (18-24 inches apart) go in the center. This keeps your garden organized and maximizes every square foot.
📝 Step 2: Mark Your Planting Layout with Stakes or String
Before dropping a single seed, sketch your garden layout on paper or use stakes and string to map out rows. For example, if your spacing chart says 4 inches apart in rows 12 inches apart, drive a stake every 12 inches to mark rows, then use a ruler or measuring tape to mark 4-inch intervals along each row. This ensures even spacing without second-guessing.
I like using colored string for different plant types—red for tomatoes, blue for peppers, and green for herbs. It’s a visual cue that prevents mix-ups, especially in larger gardens. If you’re planting in containers, use a pencil to lightly mark the soil surface instead.
🌱 Step 3: Plant Seeds at the Correct Depth and Spacing
Follow the spacing chart’s depth guidelines too—planting too shallow or deep affects germination. For instance, lettuce seeds should go ¼ inch deep, while beans need 1 inch. Use your finger to make small holes at the marked intervals, drop in 1-2 seeds per spot (thinning later if needed), and cover lightly with soil. Press gently to ensure good seed-to-soil contact.
Here’s where precision pays off: If your chart says 6 inches apart, measure from the center of one seed to the next. I tap the seed packet gently to release one seed at a time—planting too many in one hole leads to weak, crowded seedlings. Water lightly after planting to settle the soil around the seeds.
✂️ Step 4: Thin Seedlings to Maintain Proper Spacing
Once seedlings emerge, use the spacing chart as your guide for thinning. For example, if you planted 2 seeds per spot but the chart calls for 4 inches apart, you’ll need to remove the weaker seedling once both have 2 true leaves. Snip with scissors just above soil level—this prevents disturbing roots and keeps the remaining plant strong.
Thinning might feel wasteful, but it’s the key to healthy, productive plants. I always thin on a cloudy day to reduce stress on the remaining seedlings. After thinning, water deeply to help roots establish in the extra space.
🌿 Step 5: Adjust for Mature Plant Size and Garden Goals
Some plants, like squash, spread aggressively and need 3-5 feet of space, while others, like lettuce, stay compact at 6-12 inches. Check your spacing chart for mature plant sizes and adjust spacing if you’re growing for harvest (closer spacing) or for pollinators (wider spacing). For example, if you’re growing zucchini for both yield and bees, give them 3 feet apart instead of the tighter 2 feet spacing.
Real talk: If your garden is small, prioritize high-value crops like tomatoes or peppers and space them according to the chart’s “maximum yield” guidelines. For larger gardens, you can experiment with closer spacing for faster harvests, but be prepared to thin or prune as the plants grow.
Tips & tricks for perfect plant arrangement with seed spacing charts
These precision planting strategies will transform your garden from guesswork to guaranteed success.
Visual Planning Pays Off: Before you dig, sketch your garden layout on graph paper where each square represents 1 square foot. This lets you visualize how different plants will interact—like placing nitrogen-fixing peas near hungry tomatoes in Step 1. I always print my chart and use colored pencils to mark plant families, which helps me avoid cross-contamination when rotating crops next season.
Measurement Hack for Small Spaces: In Step 2, when marking rows with string, add a small washer or bead to your measuring tape at the exact spacing intervals (like 4 inches for carrots). This creates tactile markers you can feel as you pull the tape—no more squinting at tiny measurements. For containers, use a ruler to mark the soil surface with a pencil, then plant directly in those lines for perfect alignment.
Seed Depth Secret: The depth guidelines in Step 3 are your germination insurance policy. For tiny seeds like lettuce (¼ inch), use your fingernail to make shallow furrows. For larger seeds like beans (1 inch), make holes with your thumb. Pro tip: Moisten your finger before making holes—it helps the soil stick together and prevents crumbling around delicate seeds.
Thinning Timing Matters: In Step 4, don't wait until seedlings are crowded to thin—act when they have 2 true leaves and are about 1 inch tall. This gives roots time to establish in their permanent spacing before competition begins. I use clean, sharp scissors to snip seedlings at soil level, then compost the clippings. The remaining plants will reward you with stronger growth and better yields.
Pro Tips for Seed Spacing Chart
- These precision planting strategies will transform your garden from guesswork to guaranteed success.
- Visual Planning Pays Off: Before you dig, sketch your garden layout on graph paper where each square represents 1 squ...
- Measurement Hack for Small Spaces: In Step 2, when marking rows with string, add a small washer or bead to your measu...
Frequently asked questions
Got questions about perfecting your seed spacing? You’re not alone—even seasoned gardeners need a quick refresher! Here are answers to the most common queries to help you plant with confidence.
Why does seed spacing matter?
Proper spacing ensures plants get enough sunlight, water, and nutrients to thrive. Overcrowding leads to competition, while too much space wastes garden real estate. A seed spacing chart balances growth and yield—think of it as the "Goldilocks zone" for your plants!
When is the best time to follow a seed spacing chart?
Always check the chart before planting! Spacing needs vary by plant type, soil conditions, and climate. For example, carrots need 2–3 inches apart, while sunflowers can sprawl 12+ inches. Pro tip: sketch a quick garden map to visualize spacing before digging.
What if I don’t have a seed spacing chart?
No chart? No problem! Use seed packets as a guide—they often list spacing needs. For heirloom or unusual seeds, check local gardening forums or university extension resources. When in doubt, err on the side of more space—you can always thin later!
How do I adjust spacing for container gardening?
Containers require denser spacing than in-ground gardens. For example, basil thrives at 6–8 inches apart in pots but can stretch to 12 inches in soil. Use a seed spacing chart and reduce measurements by 20–30% for pots. Dwarf varieties are ideal for small spaces!
What if my plants look crowded after germination?
Thinning is key! Use scissors or your fingers to snip excess seedlings at soil level, leaving the strongest stems. Do this early—waiting too long stresses roots. For delicate plants like lettuce, thin on a cloudy day to reduce transplant shock.
Wrapping up and next steps
Mastering the seed spacing chart is your secret weapon for a thriving garden—whether you're a seasoned green thumb or just starting out! 🌱 By following precise spacing guidelines, you’ll boost yields, reduce competition, and create a lush, organized harvest that’s the envy of the neighborhood.
Now that you’ve got the know-how, it’s time to grab those seeds, roll up your sleeves, and turn theory into action.
Ready to plant? Start small with a test patch or sketch your layout using the chart as your blueprint. Happy growing—your future bounty is waiting! 🌿