
Lawn
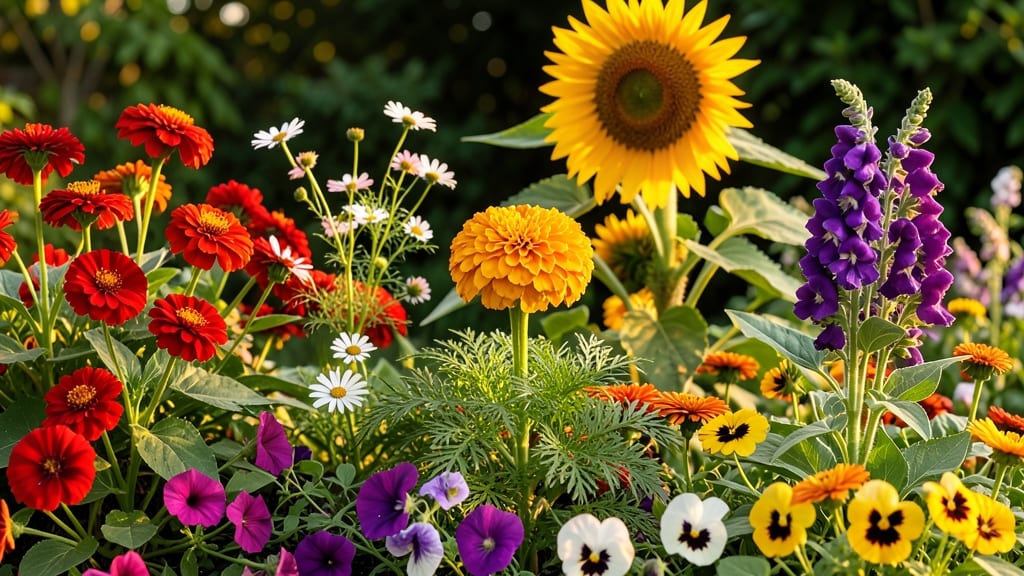
Mastering common flower seed identification saves you from guessing—and a season of disappointment. 🌱 I've spent years sorting through seed packets, and the first step is always the same: look at size, shape, and texture.
A tiny, round seed isn't always a tiny, round seed—some are actually the flat, wrinkled kind that cling to soil like little brown confetti. The quickest way to tell them apart? Hold them up to a bright window and compare to reference photos.
My go-to trick is the "finger test"—some seeds crumble between your thumb and index finger, while others stay firm. That tiny difference tells you everything about how to handle them before planting. A simple magnifying glass reveals hidden ridges or fuzzy coatings that change how you prep them for germination.
Once you've got them sorted, you'll know exactly how deep to plant each type—some need barely covering, while others thrive when pressed firmly into moist soil.
The right depth means faster sprouts and stronger starts, and you'll avoid the heartbreak of seeds that never emerge because they were buried too deep. This method works for any seed mix, whether you're growing annuals for summer color or perennials that come back year after year.
The key is patience—some seeds take weeks to show their first green shoots, while others pop up in days. Keep a journal of what you plant when, and soon you'll recognize them just by memory.
📚 In This Guide
- What you need
- Instructions
- Tips and common mistakes
- Wrapping up and next steps
What you need
- ● Magnifying glass or hand lens (10x magnification recommended for close inspection of seed details).
- ● Ruler or measuring tape (for recording seed size—metric or imperial, your choice!).
- ● Notebook or digital device (to jot down observations, shapes, colors, and textures).
- ● Seed identification guidebook or printed reference sheets (e.g., National Audubon Society Field Guide to North American Wildflowers or online databases like blank">Seed Savers Exchange).
- ● Small paintbrush or cotton swabs (for gently brushing seeds to reveal hidden details like hairs or ridges).
- ● Clear plastic bags or seed trays (to store and organize collected seeds—5–10 bags/trays should suffice).
- ● Labeling tags or sticky notes (waterproof if storing outdoors).
- ● Digital microscope or smartphone adapter (for high-res photos of seed textures).
- ● Moisture meter (to check seed viability if testing germination).
- ● Seedling trays and potting soil (if you plan to germinate samples for further ID).
- ● Field guide apps (e.g., iNaturalist or PictureThis for on-the-go ID help).
- ● UV flashlight (to spot fluorescence in some seed coatings under blacklight).
- ● Basic knowledge of seed anatomy (e.g., cotyledons, hilum, testa)—free online resources like blank">Kingdom Plants can help!
- ● Access to fresh or dried flower seeds (collect from local gardens, parks, or purchase seed mixes for practice).
- ● Patience and curiosity! Some seeds (like Trillium or Bloodroot) require very close inspection. 💡
Quick guide to identifying common flower seeds
Here’s how to tell your marigold from zinnia seeds at a glance—no gardening degree needed.
🌱 Step 1: Examine Seed Shape and Size
Start by holding the seed between your thumb and forefinger—size and shape are your first clues. Marigold seeds are small, flat, and oval-shaped, about 1/8 inch long, with a slightly ribbed texture. Zinnia seeds, on the other hand, are tiny and almost round, resembling tiny black sesame seeds. Sunflower seeds are the largest at 1/4 inch, with a pointed tip and striped pattern.
Run your fingernail along the seed’s edge—if it feels slightly rough or ridged, it’s likely a cosmos or dahlia. Smooth seeds? Probably basil (though that’s a herb) or nasturtium. Hold them up to a bright light—you’ll see tiny details like the delicate veins on snapdragon seeds or the glossy sheen of petunia seeds.
🌿 Step 2: Check Seed Color and Texture
Color is your next best friend. Marigold seeds are usually a deep, chocolate-brown, while zinnia seeds are nearly black. Sunflower seeds often have faint stripes or a mottled pattern. Cosmos seeds are pale brown with a papery, almost translucent coating—hold them up to the light to see through them.
Gently press the seed with your fingernail. If it crumbles easily, it’s likely a dry, mature seed ready for planting. If it feels hard and glossy, it might still need drying. Petunia and snapdragon seeds often have a slight sheen, while nasturtium seeds feel almost waxy to the touch.
☀️ Step 3: Compare Seed Packets to Known Samples
Lay out seeds from different packets side by side under good lighting. Use a magnifying glass if needed—some seeds, like lobelia or salvia, have tiny distinguishing marks only visible up close. Marigold seeds often have a faint, elongated shape, while zinnia seeds look almost like tiny BBs.
If you’re still unsure, check the packet for seed weight per ounce—heavier seeds (like sunflower) indicate larger seeds, while lighter weights (like cosmos) mean smaller ones. Cross-reference with a quick online search using the seed’s shape and color—most seed companies include detailed images on their websites.
⏰ Step 4: Test Germination Potential
Place a few seeds between damp paper towels in a sealed plastic bag. Store them in a warm spot (70-75°F) and check daily. Marigold and zinnia seeds typically sprout in 5-10 days, while cosmos and sunflower seeds may take 10-14 days. If nothing sprouts after 2 weeks, the seeds may be old or non-viable.
This quick test also helps you confirm whether you’ve got fast-germinating seeds (like basil or nasturtium) or slow starters (like dahlia tubers). Keep a small notebook nearby—jot down which seeds sprout fastest for future reference.
Tips & tricks for quick flower seed identification
Here's what nobody tells you about making seed ID a breeze—these tricks will have you sorting seeds like a pro in minutes.
Lighting is Everything: Natural daylight or a bright LED lamp makes all the difference when comparing seeds. Place your seeds on a clean white surface—this creates contrast that highlights subtle differences in color and texture. I keep a small desk lamp with a magnifying attachment on hand for tricky cases where details matter.
Texture Test: The fingernail trick from Step 2 is foolproof, but here's the secret: press gently along the seed's edge, not the flat side. Rough ridges on cosmos seeds will feel like sandpaper, while smooth petunia seeds should glide under your nail. If you're still unsure, try rubbing the seed between your fingers—dahlia seeds leave a faint powdery residue.
Seed Weight Clues: While checking seed packets for weight per ounce is helpful, here's a quick field test: drop a few seeds into your palm and toss them gently. Heavier seeds like sunflowers will feel dense and sink when placed in water, while lighter cosmos seeds will float. This works surprisingly well with just a glass of water and a spoon.
Pro Tips for Common Flower Seed Identification
- Here's what nobody tells you about making seed ID a breeze—these tricks will have you sorting seeds like a pro in minutes.
- Lighting is Everything: Natural daylight or a bright LED lamp makes all the difference when comparing seeds.
- Texture Test: The fingernail trick from Step 2 is foolproof, but here's the secret: press gently along the seed's edge, not the flat side.
Frequently asked questions
Got questions about flower seed ID? You’re not alone!
Here are answers to the most common queries—from timing to troubleshooting—so you can confidently tackle your garden.
How do I tell the difference between annual and perennial flower seeds?
Annual seeds (like marigolds or zinnias) grow, bloom, and die in one season, while perennials (like coneflowers or lavender) return yearly. Check seed packets—they’ll label it! If unsure, research the plant’s life cycle or ask a local nursery.
When’s the best time to plant flower seeds?
Most flowers thrive when sown after the last frost (spring) or 6–8 weeks before fall’s first frost. Cool-season blooms (e.g., pansies) can go in early spring or late summer. Use a frost chart for your zone—USDA’s zone finder is a great tool!
Can I save seeds from store-bought flowers for next year?
Yes, but only if the flowers are open-pollinated (not hybrids like many supermarket petunias). Let seeds dry on the plant, then store them in a cool, dark place. Label them clearly—mix-ups happen! Avoid saving from treated or sprayed blooms.
Why aren’t my flower seeds sprouting? Troubleshooting tips.
Check these first:
- Moisture: Keep soil consistently damp (not soggy). Use a spray bottle for tiny seeds.
- Depth: Tiny seeds (like snapdragons) need light—just press them in. Larger seeds (e.g., sunflowers) can go ½ inch deep.
- Temperature: Some seeds (like impatiens) need warmth (70°F+) to germinate.
- Age: Old seeds lose viability. Test with a seed viability kit if unsure.
What’s a good alternative if I can’t identify a seed?
No label? No problem! Try these:
- Use a seed identification app (like PictureThis) to snap a photo.
- Compare shapes/sizes to seed databases (e.g., Seed Savers Exchange).
- Start a test pot—plant a few seeds in small containers to observe growth patterns.
- Ask local gardening groups (Facebook/Reddit) for help—post a photo with your location!
Wrapping up and next steps
Mastering common flower seed identification is your first step toward a vibrant, thriving garden! 🌸 By recognizing key traits—like leaf shape, bloom color, and growth habits—you’ll confidently choose the perfect seeds for your space.
Whether you’re a beginner or a seasoned gardener, this guide gives you the tools to grow with confidence.
Ready to put your new knowledge to work? Start small—pick one or two flowers from this list, grab some seeds, and plant them today! Your garden (and future blooms) will thank you. 🌱