
Lawn
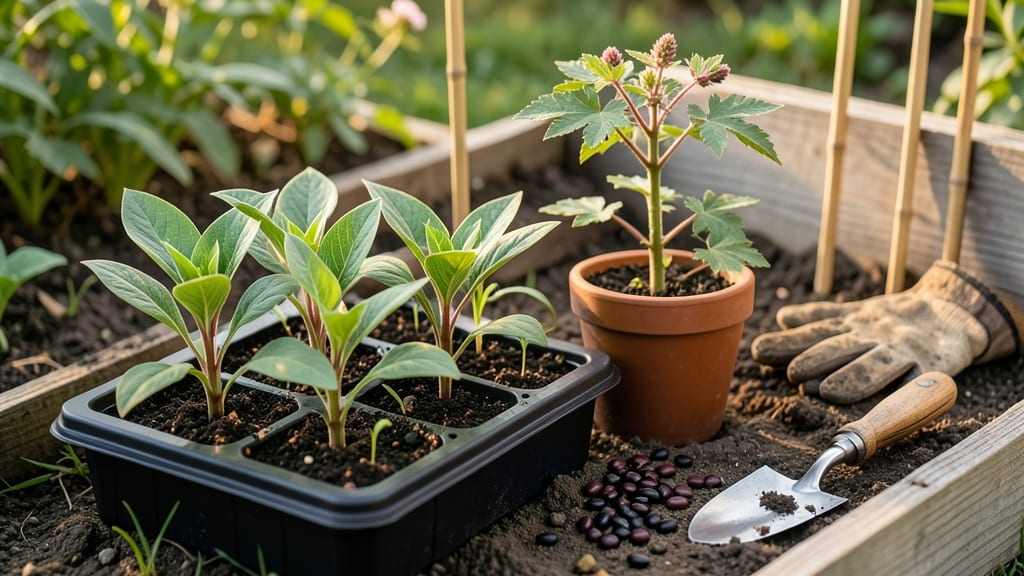
Planting amaranth seeds unlocks a garden packed with vibrant greens and seeds richer in protein than quinoa. 🌱 I’ve grown amaranth for years, and the key to success starts with warm soil—these seeds need heat to germinate, so wait until the ground reaches at least 70°F.
The right timing and soil prep make all the difference between a thriving crop and a disappointing one.
You’ll need well-draining soil, full sun (6+ hours daily), and patience—amaranth grows fast but needs consistent moisture. Direct sow seeds ½ inch deep, spacing them 12 inches apart, since they’ll spread into bushy plants.
For indoor starts, use biodegradable pots and transplant seedlings carefully to avoid root damage. The payoff? Lush foliage perfect for eating and seeds packed with nutrients.
Watch for slugs and aphids early—they love tender young plants. A light mulch keeps soil moist and deters pests. By midsummer, your amaranth will tower over your garden, offering both striking greens and harvestable seeds. The best part? It’s drought-tolerant once established, making it a low-maintenance superstar.
Whether you’re growing for food, ornamentals, or both, amaranth delivers. Start seeds now, and by harvest time, you’ll have a crop that’s as rewarding to grow as it is to eat. The secret? Timing, consistency, and a little extra warmth to kickstart those seeds.
📚 In This Guide
- What you need
- Instructions
- Tips and common mistakes
- Wrapping up and next steps
What you need
- ● Amaranth seeds: 1–2 lbs (for a small garden) or 5–10 lbs (for larger plots). Choose certified organic or heirloom varieties like ‘Red Garnet’ or ‘Green Giant’.
- ● Well-draining soil: Mix 60% topsoil with 30% compost and 10% perlite or sand (amaranth hates soggy roots!).
- ● Sunlight: A spot with 6–8+ hours of direct sun daily (partial shade works in hot climates).
- ● Water: Consistent moisture (1–1.5 inches per week), but avoid waterlogging.
- ● Garden bed or containers: At least 12–18 inches deep (for direct planting) or 5–7 gallon pots (for container gardening).
- ● Garden trowel or transplanter: For sowing seeds ½–1 inch deep.
- ○ Mulch (optional): Straw or shredded leaves to retain moisture and suppress weeds.
- ○ Fertilizer (optional): Balanced organic fertilizer (10-10-10) or compost tea at planting and mid-growth.
- ● Trellis or stakes (for grain varieties): Tall varieties like ‘Hopi Red Dye’ may need support.
- ● Warm soil: Amaranth thrives in 70–85°F soil temps—wait until after the last frost (Zone 2+).
- ● Spacing: Thin seedlings to 12–18 inches apart (closer for leafy varieties).
- ● Patience: Germination takes 5–10 days; full harvest in 50–60 days for leaves or 90–120 days for seeds.
Step-by-step guide to planting amaranth seeds
Here’s how to grow vibrant amaranth with minimal fuss—just follow these clear steps.
🌱 Step 1: Prepare the Soil for Fast Germination
Amaranth thrives in loose, nutrient-rich soil with excellent drainage. Work the top 6-8 inches of soil to break up compaction, then mix in 2-3 inches of compost or well-rotted manure. Amaranth loves warmth, so wait until the soil reaches at least 60°F before planting—cold soil slows germination dramatically.
If your soil drains poorly, add a handful of perlite or coarse sand to improve aeration. Amaranth’s roots grow deep and fast, so avoid heavy clay. Test the soil’s moisture by squeezing a handful—it should hold together but not drip water. This ensures roots get oxygen while staying hydrated.
🌱 Step 2: Plant Seeds at the Right Depth and Spacing
Sow seeds ½ inch deep and 12-18 inches apart in rows 18-24 inches apart—this gives leaves room to spread without overcrowding. Amaranth seeds are tiny, so I use a seed starter tool or just press them in lightly with my thumb. Planting too deep delays sprouting because seedlings struggle to reach the surface.
For a continuous harvest, stagger plantings every 2 weeks until 6 weeks before your first frost. Thin seedlings to the strongest 6-8 inches apart once they’re 2-3 inches tall, using clean scissors to avoid disturbing roots. The thinned seedlings make great additions to salads or stir-fries.
☀️ Step 3: Provide Warmth and Consistent Moisture
Amaranth needs full sun (6-8 hours daily) to produce its signature bold, deep green leaves. If your summers are hot, provide afternoon shade in Zones 9-11 to prevent bolting (premature flowering). Water 1 inch per week, keeping the soil evenly moist but never soggy—amaranth hates waterlogged roots.
Check soil moisture by sticking your finger 1 inch deep—if it feels dry, water deeply at the base. Mulch with 1-2 inches of straw to retain moisture and suppress weeds. Avoid overhead watering, as wet foliage invites fungal diseases like powdery mildew, which can defoliate plants quickly.
✂️ Step 4: Harvest Young Leaves for Maximum Flavor
Start harvesting outer leaves when plants reach 6-8 inches tall, cutting just above a leaf node to encourage bushier growth. For tender greens, pick leaves 3-4 inches long—longer leaves become tougher and more fibrous. Regular harvesting stimulates new growth and prevents bolting.
If you’re growing amaranth for grain (like red or black amaranth), let some stalks mature to 4-5 feet tall before harvesting seed heads. Watch for flower spikes to form—these dry into plump seed clusters packed with protein. Cut entire stalks when seeds turn dark and crispy, then dry them indoors for storage.
🌿 Step 5: Extend the Season with Smart Care
To keep producing greens late into fall, cover plants with floating row covers when nights dip below 50°F. This protects tender leaves from frost while still allowing sunlight. Amaranth is frost-sensitive, so harvest before temperatures drop below 32°F—leaves turn bitter and mushy.
Fertilize lightly every 3-4 weeks with a balanced 10-10-10 fertilizer to maintain vigorous growth. Avoid high-nitrogen feeds late in the season, as they promote leafy growth at the expense of seed production if you’re growing grain varieties. With proper care, one planting can provide harvests for 2-3 months.
Tips & tricks for perfect amaranth seed planting
These practical insights will help you grow vibrant amaranth greens and protein-rich seeds with confidence.
Soil Preparation Secret: The 6-8 inches of soil you loosen should feel like a well-drained sponge—not compacted. I like to add a thin layer of coarse sand mixed with the 2-3 inches of compost to create ideal aeration. This prevents root rot while ensuring those deep roots get the oxygen they crave. Test your soil's moisture by squeezing a handful—it should crumble when released, not stick together like wet clay.
Seed Placement Precision: Those tiny amaranth seeds need just ½ inch of depth—any deeper and they'll struggle to reach the surface. Use your thumb to press them lightly into the soil rather than burying them. For better visibility, I sprinkle a thin layer of fine compost over the seeds before watering. This keeps them in place without smothering them.
Sunlight Strategy: Amaranth thrives on 6-8 hours of full sun daily, but in hot climates (Zones 9-11), afternoon shade prevents bolting. I use lightweight shade cloth during peak afternoon heat—this maintains leaf quality without sacrificing growth. Morning sun gives the energy boost they need while protecting them from midday intensity.
Harvesting Timing: For leaf greens, harvest outer leaves when plants reach 6-8 inches tall—this encourages bushier growth. I always cut just above a leaf node to promote new shoots. For grain varieties, wait until stalks reach 4-5 feet and flower spikes form before harvesting those protein-packed seed heads.
Pro Tips for Amaranth Seed Planting
- These practical insights will help you grow vibrant amaranth greens and protein-rich seeds with confidence.
- Soil Preparation Secret: The 6-8 inches of soil you loosen should feel like a well-drained sponge—not compacted.
- Seed Placement Precision: Those tiny amaranth seeds need just ½ inch of depth—any deeper and they'll struggle to reach the surface.
Frequently asked questions
Got questions about planting amaranth seeds?
You’re not alone! Here are answers to the most common queries to help you grow a thriving crop with confidence.
When is the best time to plant amaranth seeds?
Amaranth thrives in warm soil, so plant seeds after the last frost when temperatures consistently stay above 70°F (21°C). For most U.S. regions, this means late spring to early summer. If you’re in a short-season area, opt for faster-maturing varieties like ‘Giant Red’ or ‘Joseph’s Coat’.
How long does it take for amaranth to grow from seed to harvest?
Most amaranth varieties mature in 50–70 days, depending on the type. Leafy greens (like ‘Green Garnet’) can be harvested in as little as 30–40 days, while grain amaranth (for seeds) takes the full 60–70 days. Check your seed packet for specific timelines!
Can I grow amaranth indoors or in containers?
Amaranth adapts well to containers as long as they’re at least 12 inches deep and wide. Use a high-quality potting mix, place in full sun (or under grow lights), and ensure good drainage. Dwarf varieties like ‘Love Lies Bleeding’ are ideal for indoor gardening.
What are common pests or problems with amaranth, and how do I fix them?
Amaranth is generally pest-resistant, but watch for aphids, cucumber beetles, or slugs. For mild infestations, spray with soapy water or neem oil. If leaves yellow or wilt, check for overwatering or poor drainage. Rotate crops yearly to prevent soil-borne issues.
Can I save amaranth seeds for next year’s planting?
Yes! Once the seed heads dry and turn brown, cut them and let them fully mature indoors. Rub the dried heads to release seeds, then store them in a cool, dry place (like a sealed jar). Seeds remain viable for 2–3 years. Pro tip: Label your seeds to track varieties!
Wrapping up and next steps
Planting amaranth seeds is your ticket to a nutrient-rich, resilient harvest that thrives with minimal fuss—perfect for both beginners and green thumbs! 🌱 From selecting the right soil to nurturing your plants through harvest, every step is packed with potential for bold greens and protein-packed rewards.
Whether you're growing for food, fiber, or just the joy of watching nature flourish, amaranth delivers big results with small effort.
Now that you’re armed with the know-how, roll up your sleeves and start planting! Grab your seeds, pick a sunny spot, and let the adventure begin. Ready to transform your garden—or even your kitchen—with this ancient superfood? Your future harvest is waiting! 🌿