
Propagation
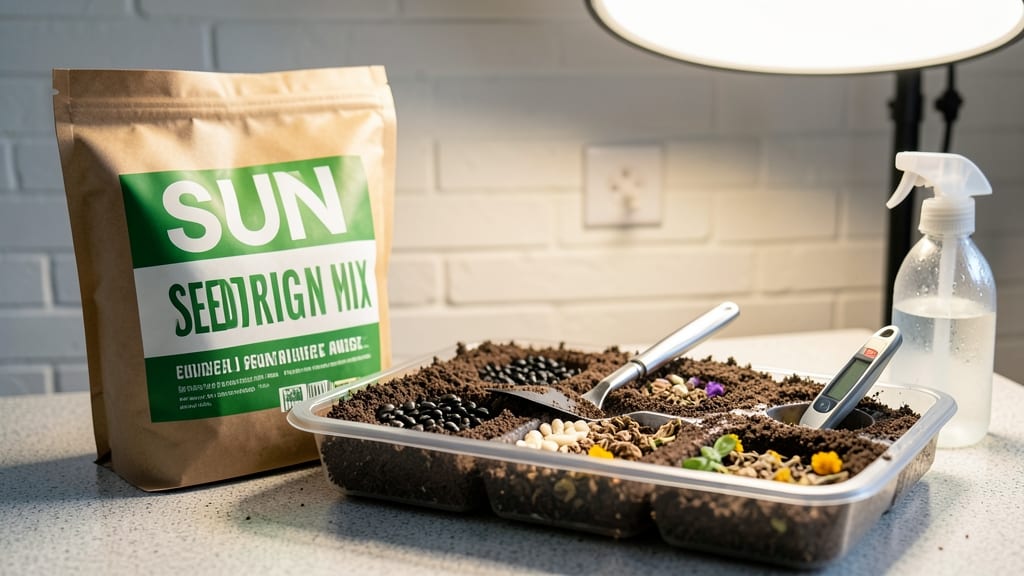
Sun Gro seed starting mix turns weak seedlings into powerhouses. 🌱 I’ve used it for years to get tomatoes, peppers, and herbs off to a strong start—and the difference is night and day compared to regular potting soil. This mix is sterile, lightweight, and packed with nutrients seeds crave.
No need to sterilize it yourself—just add water, plant your seeds, and watch them pop up faster than with heavier garden soil. The secret’s in the perfect moisture-to-air ratio that prevents mold while keeping roots happy.
By the time you’re ready to transplant, your seedlings will be stocky, dark green, and ready to handle real-world conditions. No more leggy, weak plants that flop when moved outside—just vigorous starts that thrive. Works for vegetables, herbs, and flowers alike. Let’s get those seeds growing right!
📚 In This Guide
- What you need
- Instructions
- Tips and common mistakes
- Wrapping up and next steps
What you need
- ● Sun Gro Seed Starting Mix – 1-2 cubic feet (or enough to fill your seed trays). This lightweight, sterile mix is perfect for germinating seeds.
- ● Seed trays or containers – 4"-6" deep, with drainage holes (plastic, biodegradable pots, or seedling flats).
- ● Seeds – Choose fast-germinating varieties (like lettuce, basil, or marigolds) for best results.
- ● Watering can or spray bottle – With a fine mist nozzle to avoid disturbing seeds.
- ● Grow lights or sunny windowsill – 6-8 hours of light daily (grow lights are ideal for consistent growth).
- ● Gloves – To keep hands clean while handling soil.
- ○ Seedling heat mat (optional) – For faster germination (70-75°F).
- ● Humidity dome or plastic wrap – To retain moisture until seeds sprout.
- ● Fertilizer (balanced, water-soluble) – Diluted to half-strength after seedlings emerge.
- ● Labels & markers – To track seed varieties and planting dates.
How to use Sun Gro seed starting mix for fast-germinating seedlings
This light, sterile mix creates the perfect foundation for quick germination and robust early growth.
🌱 Step 1: Prepare Your Containers and Mix
Start with clean, 2-3 inch deep containers—cell packs or small pots work perfectly. Sun Gro's fast-draining formula means you don't need to compact it like traditional soil. Simply fill each container to about 1 inch below the rim with the mix. I like to tap the containers gently on the table to settle the soil evenly without packing it down too tightly.
This mix stays loose on purpose—it's designed to let air and moisture reach seeds immediately, which is why germination happens so quickly. The peat-based formula also resists compaction, so you won't need to worry about roots struggling to push through dense soil later.
💧 Step 2: Moisten the Mix Before Planting
Before sowing, give the mix a thorough but gentle watering using a spray bottle or fine rose attachment on your watering can. You want the soil to feel like a damp sponge—not soggy, but not dry either. I test by squeezing a handful: if it holds together but doesn't drip, you're good to go.
This pre-moistening step is crucial with Sun Gro because its fast-draining nature can dry out quickly. Once the seeds are planted, you won't want to disturb them by watering again until they've sprouted. The mix's high organic content means it'll hold enough moisture to support early root development without risking overwatering.
🌱 Step 3: Sow Seeds at the Correct Depth
Follow the seed packet's recommended depth—usually 2-3 times the seed's diameter. For tiny seeds like lettuce, that's just a light dusting; for larger seeds like beans, aim for ½ inch deep. I use a toothpick to create small holes when working with very fine seeds, which helps maintain consistent planting depth.
Sun Gro's lightweight nature means seeds won't sink deeper than intended during watering. After planting, cover seeds with a thin layer of additional mix, just enough to obscure them from light. Press gently but don't compact—you want the soil to stay aerated for those first critical roots.
☀️ Step 4: Maintain Ideal Conditions for Fast Germination
Place your containers in a warm spot—70-75°F is ideal for most seeds. I use a seedling heat mat under my trays, which keeps the soil consistently warm without needing extra space. Cover the containers with clear plastic wrap or a humidity dome to create a mini greenhouse effect that speeds up germination.
Check daily for moisture—Sun Gro dries out faster than traditional mixes, so you may need to mist the soil surface lightly every 1-2 days. Remove the cover as soon as you see the first signs of sprouts to prevent damping-off disease. You'll typically see germination in 5-7 days for fast-growing seeds like radishes, or 10-14 days for slower starters like tomatoes.
🌿 Step 5: Transition to Light and Air Circulation
Once seedlings emerge, remove all covers immediately and move them to bright light—12-16 hours daily of light is crucial. Sun Gro's sterile nature means you won't need to fertilize until after the first true leaves appear, usually in 10-14 days. At that point, I switch to a diluted liquid fertilizer to support the fast growth this mix encourages.
Thin seedlings if necessary, keeping the strongest plant per container. Sun Gro's lightweight properties make it easy to transplant without disturbing roots later. The mix breaks down quickly as roots grow, so you'll want to transition to regular potting soil before the seedlings outgrow their initial containers.
Tips & tricks for perfect seed starting with Sun Gro mix
Real talk: Sun Gro's fast-draining formula works wonders—but only if you follow these key tricks to maximize its potential.
Container Depth Matters: The 2-3 inch depth recommendation isn't arbitrary—it gives roots enough room to establish before transplanting. For larger seeds like beans, use the deeper end of the range. I've found that 3-inch pots actually reduce transplant shock for slower starters like tomatoes, giving them that extra week of growth before moving outdoors.
Moisture Balance is Critical: That "damp sponge" test in Step 2 is your best friend. Too dry, and seeds won't germinate; too wet, and you risk damping-off. I keep a spray bottle dedicated just to seedlings—fill it with room-temperature water and give it a quick shake before each use to maintain consistent moisture levels. The mix's fast-draining nature means you'll need to water more frequently than traditional soil, but less aggressively.
Temperature Consistency Speeds Germination: The 70-75°F range in Step 4 is non-negotiable for most seeds. I've seen germination times cut in half when maintaining this temperature consistently. If your home runs cooler, place containers on a seedling heat mat—just be careful not to exceed 80°F, which can stress delicate seedlings. Pro tip: Use a small thermometer to monitor soil temperature directly.
Light Transition is Key: Those 12-16 hours of light in Step 5 should be bright but not direct sunlight initially. I start seedlings under grow lights about 6 inches away, then gradually increase the distance as they grow. The mix's sterile nature means you won't need supplemental nutrients until true leaves appear, but don't wait too long—Sun Gro breaks down quickly as roots expand.
Pro Tips for Sun Gro Seed Starting Mix
- Real talk: Sun Gro's fast-draining formula works wonders—but only if you follow these key tricks to maximize its potential.
- Container Depth Matters: The 2-3 inch depth recommendation isn't arbitrary—it gives roots enough room to establish before transplanting.
- Moisture Balance is Critical: That "damp sponge" test in Step 2 is your best friend.
Frequently asked questions
Got questions about Sun Gro Seed Starting Mix? You’re not alone! Here are some of the most common concerns—and straightforward answers—to help you get the best results for your seedlings.
What’s the best time to start seeds with Sun Gro Seed Starting Mix?
Timing depends on your plants! For most vegetables, start 6–8 weeks before the last frost date in your zone. Cool-season crops (like lettuce or spinach) can go in earlier, while warm-season plants (tomatoes, peppers) need warmth—so wait until after frost risk passes. Check seed packets for specifics!
How often should I water Sun Gro Seed Starting Mix?
Keep the mix consistently moist (not soggy!) by watering gently when the top inch feels dry. Overwatering can cause damping-off, while underwatering stresses seedlings. A spray bottle or watering can with a fine rose works best. Pro tip: Use room-temperature water to avoid shocking tender roots!
Can I reuse Sun Gro Seed Starting Mix after starting seeds?
Not recommended! Once seeds germinate, the mix depletes nutrients and may harbor pathogens. For cost savings, try sterilizing leftover mix by baking it at 200°F for 30 minutes (to kill fungi/bacteria), then amending with compost. Alternatively, repurpose it for fast-growing greens like microgreens or herbs.
What if my seedlings look leggy or weak in Sun Gro?
Leggy seedlings usually mean too little light or overcrowding. Move trays to a sunny windowsill (south-facing) or under grow lights (12–16 hours/day). Thin seedlings if they’re touching—keep 1–2 inches of space between them. For extra support, add a light dusting of compost to the top of the mix for nutrients.
Are there alternatives to Sun Gro Seed Starting Mix?
Yes! DIY blends (50% peat moss + 50% perlite/vermiculite) work well, or try pre-mixed options like FoxFarm Seedling Mix or Black Gold Seedling Mix. Coco coir is another eco-friendly choice—just ensure it’s sterilized and amended with perlite for aeration. Sun Gro’s advantage? It’s lightweight, sterile, and packed with nutrients for rapid germination.
Wrapping up and next steps
Growing strong, healthy seedlings starts with the right foundation—and Sun Gro Seed Starting Mix delivers just that! 🌱 With its perfect balance of nutrients, moisture retention, and aeration, this premium mix sets your plants up for success from day one.
Whether you're a seasoned gardener or just starting your green thumb journey, this soil gives you the confidence to nurture vibrant, resilient seedlings.
Now that you're equipped with the knowledge, it's time to get your hands dirty! Grab your Sun Gro mix, follow the steps, and watch your garden dreams take root. Happy planting—and may your seedlings grow wild with joy! 🌿✨