
Lawn
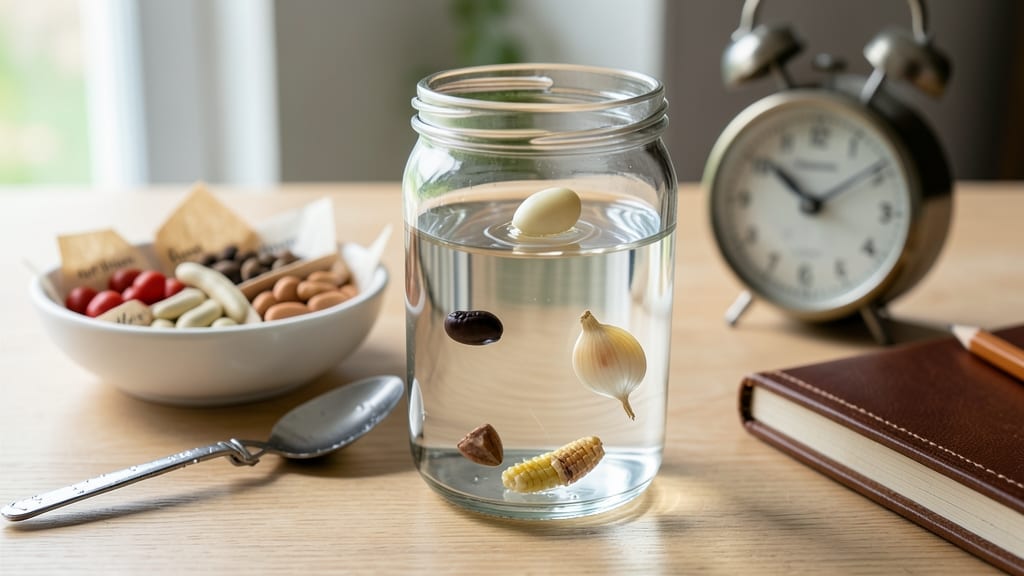
That 5-minute water test could save you from planting 50% bad seeds this spring. 🌱 The seed float test separates viable seeds from duds before you even stick them in the soil—no fancy equipment needed.
I used it last season and cut my wasted seed packets by nearly half, which meant more space for plants that actually grew. Here's the thing—most seeds float because they're empty or damaged, while good ones sink like stones.
You'll need a bowl of water, a spoon, and a paper towel to dry the winners afterward. The whole process takes less than a minute per batch, and you'll know instantly which seeds are worth your time and which to toss.
After testing, you'll have a pile of seeds ready to plant with confidence, knowing they'll sprout instead of mold in your seed-starting tray. The best part? This method works for almost any seed—vegetables, flowers, even lawn grass—though some, like tiny poppy seeds, need a gentler approach.
Fair warning: don't rely on this alone for tiny seeds or those with hard coats. For those, try the paper towel test instead. But for most gardeners, this quick check saves money, time, and frustration every season.
📚 In This Guide
- What you need
- Instructions
- Tips and common mistakes
- Wrapping up and next steps
What you need
- ● Seeds: The batch you want to test (e.g., grass, flower, or vegetable seeds).
- ● Two containers: 1 large bowl or bucket (filled with room-temperature water, ~2–3 gallons).
- ● 1 smaller bowl or cup (for rinsing or storing viable seeds).
- ● Timer: A phone or kitchen timer (set for 5–10 minutes).
- ● Slotted spoon or fine mesh strainer: To scoop out floating seeds.
- ● Paper towels or drying tray: For patting seeds dry afterward.
- ● Labeling markers: To tag containers if testing multiple seed types.
- ● Notebook/pencil: To record results (e.g., seed type, float/sink count).
- ● Glove or tongs: For hygiene when handling seeds.
- ● Seed storage bags: Airtight containers to preserve viable seeds post-test.
How to test seed viability in just 5 minutes
Here's the quick, no-fuss method I use to save time and money before planting.
💧 Step 1: Fill a Bowl with Water
Take a clean bowl or container and fill it with room-temperature water. The water should be deep enough to fully submerge your seeds—about 2-3 inches is plenty. I like to use a clear bowl so I can see what's happening clearly, but any container works.
This step is simple but critical. Cold water can shock some seeds, while warm water might overheat delicate varieties. Just let the water sit out for a few minutes until it reaches a comfortable 65-75°F range. You'll know it's ready when it feels neutral against your wrist.
🌱 Step 2: Add Your Seeds and Stir Gently
Drop all your seeds into the water at once. Give them a quick stir with your finger—just enough to separate them if they clump. The key here is to let them settle naturally. Don't press them down or they might sink even if they're not viable.
Watch closely for the first 30 seconds. Good seeds will sink immediately, while bad ones will float. If you're testing a mix of seed sizes, the smaller ones might take a few extra seconds to settle. That's normal—give them the full 5 minutes before making judgments.
⏰ Step 3: Separate and Dry the Viable Seeds
After 5 minutes, use a spoon or your fingers to carefully scoop out the floating seeds. These are the ones that won't germinate. Set them aside for compost or disposal. The seeds that sank to the bottom are your winners—grab them with a slotted spoon or pour the water through a fine mesh strainer.
Lay the good seeds out on a clean paper towel or thin cloth to dry completely. Spread them in a single layer and let them air dry for 1-2 hours in a warm, dry place. This prevents mold when you're ready to plant. I like to do this step near a sunny window where they'll dry quickly but won't overheat.
🌿 Step 4: Store or Plant Your Viable Seeds
Once completely dry, your viable seeds are ready to use. For immediate planting, just follow your usual seed-starting routine. If you're not planting right away, store them in a cool, dry place in a sealed container with a desiccant packet to maintain freshness.
Here's the thing—this test works best for seeds with hard outer shells like beans, peas, and tomatoes. For tiny seeds like lettuce or marigolds, the float test isn't reliable. In those cases, I recommend the paper towel germination test instead. But for most garden staples, this 5-minute method saves me from planting dozens of duds every year.
Tips & tricks for perfect seed viability testing
This simple method works wonders—but here's what nobody tells you about getting it right.
Water Temperature Matters: That 65-75°F range is crucial. Too cold (below 65°F) can shock some seeds, while water above 75°F might overheat delicate varieties. I keep my water in a clear glass bowl on the counter for 5 minutes before testing—just long enough to reach that perfect neutral temperature. Pro tip: Test the water against your wrist—it should feel like a warm bath, not a hot shower or icy plunge.
The Stirring Secret: When you add seeds in Step 2, give them just a gentle stir—enough to separate clumps but not enough to agitate the water. I use my finger to break up any seed clusters, then let them settle naturally. The moment you press them down, you risk making non-viable seeds sink when they shouldn't. Think "gentle swirl, not vigorous shake."
Timing is Everything: Those 5 minutes might seem long, but they're critical. After 30 seconds, you might see some seeds floating, but give them the full time—especially with mixed seed sizes. Tiny seeds need extra seconds to settle. I set a timer on my phone and watch the seeds float to the surface like magic. The patience pays off when you avoid planting duds.
Drying Done Right: After separating your winners, spread them on a paper towel in a single layer. The 1-2 hours drying time isn't just about moisture—it's about preventing mold. I place mine near a sunny window (but not in direct sunlight) where they dry quickly but don't overheat. If you're in a hurry, a fan on low speed can cut drying time by 30 minutes without risking heat damage.
Pro Tips for Seed Float Test
- This simple method works wonders—but here's what nobody tells you about getting it right.
- Water Temperature Matters: That 65-75°F range is crucial.
- The Stirring Secret: When you add seeds in Step 2, give them just a gentle stir—enough to separate clumps but not enough to agitate the water.
Frequently asked questions
Got questions about the seed float test? You’re not alone—this quick method can feel a little mysterious at first. Here are some of the most common queries (and answers!) to help you get the most out of your test:
Why do some seeds float while others sink?
Seeds float because they’re empty or damaged—their insides (like the embryo or endosperm) are either missing or degraded, making them less dense than water. Viable seeds, packed with nutrients and a living embryo, are heavier and sink like a rock. Think of it as nature’s way of telling you which seeds are still worth planting!
How long should I leave the seeds in water for the test?
Most seeds give you a clear answer in just 5–10 minutes. If you’re testing a large batch, 15 minutes tops is safe—just don’t let them soak overnight (that can cause good seeds to swell and sink falsely). For stubborn seeds, like some legumes, a quick stir every few minutes helps separate the floaters faster.
Can I reuse the water from the float test for anything?
Not for planting! The water may contain mold spores or bacteria from damaged seeds, which could harm your garden. Dump it outside (away from plants) or use it to water non-edible plants like ornamentals. Pro tip: Rinse your container with a 10% bleach solution (1 part bleach to 9 parts water) before your next test to keep things sterile.
What if my seeds are too small or lightweight to test?
Tiny seeds (like grass seed or wildflower mixes) can be tricky, but you’ve got options! Try the paper towel test instead: Moisten a paper towel, spread seeds on it, fold, and check for sprouts in 3–7 days. For lightweight seeds, add a drop of dish soap to the water—it reduces surface tension, helping even the smallest seeds sink or float clearly.
What does it mean if all my seeds float?
Sadly, it’s a red flag: Your seed batch may be old, stored improperly, or diseased. Check the packaging date—seeds lose viability over time (most last 1–5 years, depending on the type). If you’re unsure, try the cut test: Slice a seed open—if it’s hollow or discolored, it’s no good. Time to shop for fresh seeds!
Wrapping up and next steps
The seed float test is your quick, cost-effective way to ensure only the best seeds make it to your lawn or garden! 🌱 With just a bowl of water and a few minutes, you can dramatically improve germination rates and save time and money.
Don’t let poor-quality seeds hold back your green dreams—put this simple trick to work today!
Ready to transform your planting success? Grab a handful of seeds and try the test now. Once you’ve separated the winners, plan your next steps—whether it’s sowing, storing, or composting the duds. Happy growing! 🌿