
Container Gardens
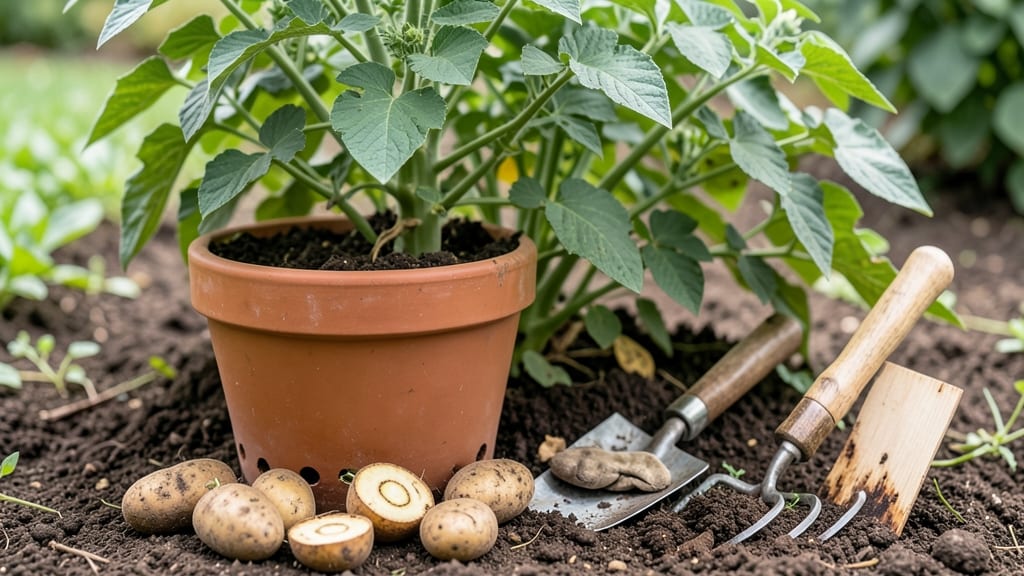
Planting seed potatoes in containers turns a tiny balcony into a high-yield potato patch—no backyard required. 🌱 I’ve grown enough spuds in 5-gallon buckets to feed my family for months, and the secret isn’t fancy equipment but smart spacing and soil prep.
Most people overlook the chitting step, but those little sprouts mean faster harvests and bigger tubers. You’ll need containers with drainage, light soil mix, and a sunny spot (6+ hours of sun daily). Fabric grow bags work wonders—they’re breathable, easy to store, and let you watch roots grow.
Cut your seed potatoes into chunks with at least one "eye" each, let them heal for a day, then plant them 4 inches deep, spacing them 6 inches apart. By midsummer, you’ll be harvesting baby potatoes straight from the soil, and the main crop will be ready by early fall.
The key is keeping the soil moist but not soggy—potatoes hate wet feet. If you see yellowing leaves, it’s usually overwatering or poor drainage, not a death sentence. This method works for any variety, from fingerlings to russets, and scales from one container to a whole patio.
Even my black thumb can’t kill these—once you master the basics, you’re set for years of easy harvests.
📚 In This Guide
- What you need
- Instructions
- Tips and common mistakes
- Wrapping up and next steps
What you need
- ● Seed potatoes: 3–5 certified disease-free seed potatoes per container (e.g., Yukon Gold, Red Pontiac, or Fingerlings). Pro tip: Choose small to medium-sized tubers with at least 2–3 "eyes" (buds).
- ● Containers: 1–2 deep pots (10–12 inches deep) per seed potato, with drainage holes. Options: 5-gallon buckets
- ● Fabric grow bags
- ● Wooden barrels or half-barrels
- ● Potting mix: 2–3 bags of high-quality, well-draining container mix (avoid garden soil—it compacts!). Look for blends labeled for vegetables.
- ● Drainage material: Small rocks, gravel, or broken pottery shards (1–2 inches) for the container bottom.
- ● Watering can or hose: With a gentle spray nozzle for even moisture.
- ● Fertilizer: Balanced, slow-release granular fertilizer (e.g., 10-10-10) or organic options like composted manure or worm castings.
- ○ Twine or stakes (optional): For trellising if growing varieties like Ratte potatoes.
- ● Sunlight: 6+ hours of direct sunlight daily. 💡 Pro tip: South-facing spots or balconies work best!
- ● Temperature: Wait until soil temps reach 45–50°F (7–10°C) after the last frost.
- ● Space: Ensure containers are spaced 12+ inches apart for airflow.
- ● Mulch: Straw or shredded leaves to retain moisture and regulate soil temp.
- ● Potato grow bags: Pre-made fabric bags with built-in drainage.
- ● pH test kit: To check soil acidity (ideal range: 5.0–6.5).
- ● Plant markers: To track varieties and planting dates.
Step-by-step instructions for planting seed potatoes in containers
Here's how to grow a full potato harvest in just a few square feet—no yard needed.
🪴 Step 1: Choose the Right Containers and Drainage
Pick containers at least 12 inches deep (deeper is better) with drainage holes—seed potatoes rot if they sit in soggy soil. I use 5-gallon buckets with holes drilled in the bottom for my four plants. If your pots lack holes, add a layer of broken pottery or mesh over them to prevent soil from washing out while still allowing water to drain.
Place your containers where they'll get full sun (6+ hours daily). A south-facing balcony or patio works perfectly. If you only have partial sun, choose early-maturing varieties like 'Yukon Gold'—they'll still produce decent harvests. Avoid dark-colored containers in hot climates; they absorb heat and can cook the roots.
🌱 Step 2: Pre-Chit and Plant Your Seed Potatoes
First, "chit" your seed potatoes by placing them in a bright, cool spot (around 50-55°F) for 4-6 weeks before planting. You'll see tiny sprouts (called "chits") emerge—these give your potatoes a head start. Cut larger seed potatoes into 2-3 inch chunks, ensuring each has at least 2-3 eyes (sprouts) and let them dry for a day before planting.
Fill your containers with a mix of 50% potting soil and 50% compost, leaving 2 inches of space at the top. Place your chitted seed potatoes on the soil surface, eyes facing up. Cover them with 2-3 inches of soil, leaving the top of the potato exposed. This ensures they get enough light to sprout quickly.
💧 Step 3: Water and Maintain Moisture
Water thoroughly right after planting until water runs out the drainage holes. Keep the soil consistently moist but never soggy—you'll know it's right when the top inch feels damp to the touch. Overwatering causes rot, while underwatering leads to stunted growth. I water mine every 2-3 days in summer, adjusting for rain or heat waves.
When the sprouts reach 4-6 inches tall, add more soil up to the base of the stems, burying them halfway. Repeat this "hilling" process every 2 weeks until the container is full. This encourages more tuber formation underground. Watch for new growth at the soil line—this is your signal to hill again.
☀️ Step 4: Monitor Growth and Fertilize Lightly
Once your plants flower, stop fertilizing—it shifts energy from tuber growth to seed production. Instead, focus on watering deeply in the morning to encourage strong root development. Yellowing leaves usually mean too much water or not enough light. If your plants look leggy, move them to a sunnier spot immediately.
When the foliage yellows and dies back (about 10-12 weeks after planting), stop watering entirely. This signals the tubers to mature. Dig carefully with a fork or your hands, being gentle to avoid piercing the potatoes. Cure them in a dark, dry place for 1-2 weeks to develop their skins—this improves storage life.
⏰ Step 5: Harvest and Store Your Potatoes
Harvest when the plant tops turn completely brown and crispy. Gently lift the potatoes from the soil, brushing off excess dirt. Smaller "new potatoes" can be eaten right away, while larger ones store well in a cool, dark place (around 40-50°F) for 2-3 months
If you saved any seed potatoes this year, set them aside for next season's chitting. The rest can be roasted, mashed, or boiled—just don't peel them until after cooking to preserve nutrients. With this method, I easily grow enough potatoes for four people in just four containers!
Tips & tricks for perfect container-grown potatoes
These little tweaks will help you avoid the most common mistakes and get the biggest harvest from your containers.
Container Size Matters: While 12 inches is the minimum, I've found that going deeper (up to 18 inches) gives you more room for tuber development. If you're using 5-gallon buckets, stack two buckets with landscape fabric between them to create a 24-inch growing space. This can nearly double your yield without taking up more surface area. Just make sure the bottom bucket still has drainage holes!
Chitting Check: Those 4-6 weeks of chitting might feel like a long wait, but here's the thing—you can actually speed it up by placing your seed potatoes near a sunny window (but not in direct sunlight) and keeping them consistently around 60°F. You'll see those little chits appear in just 2-3 weeks. Just don't rush it; the stronger the chits, the better your harvest will be.
Soil Mix Secret: That 50/50 potting soil and compost mix is perfect, but here's what I do differently: I add a handful of perlite to every 5 gallons of mix. This improves drainage while still holding moisture—exactly what potatoes need. It also prevents that dreaded soggy soil that leads to rot. Think of it as giving your potatoes a spa treatment!
Hilling Hack: When you're hilling every 2 weeks, don't just dump soil on top—create little mounds around the stems instead. This gives your potatoes more surface area to grow against while keeping the soil loose. I also like to use a mix of fresh soil and compost when hilling to give those developing tubers an extra nutrient boost right where they need it.
Pro Tips for Planting Seed Potatoes In Containers
- These little tweaks will help you avoid the most common mistakes and get the biggest harvest from your containers.
- Container Size Matters: While 12 inches is the minimum, I've found that going deeper (up to 18 inches) gives you more room for tuber development.
- You'll see those little chits appear in just 2-3 weeks.
Frequently asked questions
Got questions about growing seed potatoes in containers? You’re not alone! Here are answers to the most common concerns—so you can confidently start your compact potato patch.
What’s the best container size for seed potatoes?
Use containers at least 12–18 inches deep (deeper is better for larger harvests). For a single potato plant, a 5-gallon bucket or fabric grow bag works well. If growing multiple plants, opt for a long, shallow trough (like a half-barrel) with 12+ inches of soil depth to accommodate spreading roots.
When is the ideal time to plant seed potatoes in containers?
Plant 2–4 weeks before your last frost date (spring) for a summer harvest. In warm climates, you can also plant in fall for a winter crop. Seed potatoes need 4–6 weeks of cool soil (40–60°F) to sprout, so avoid planting too early in cold regions. Pro tip: Chit (pre-sprout) your potatoes indoors 4–6 weeks before planting to jumpstart growth!
Can I use regular grocery-store potatoes as seed potatoes?
No!
Grocery potatoes are treated to prevent sprouting and may carry diseases. Instead, buy certified seed potatoes from nurseries or online retailers. If you’re in a pinch, use organic, untreated potatoes from a farm store—but cut them into pieces with at least 2–3 “eyes” (sprouts) per piece and let them heal for 1–2 days before planting.
How do I prevent pests and diseases in container-grown potatoes?
Containers help reduce soil-borne diseases, but pests like colorado potato beetles and aphids can still strike. Prevent issues with:
- Neem oil or insecticidal soap for early pest control.
- Using well-draining soil (mix potting soil with perlite or compost) to deter rot.
- Crop rotation—don’t plant potatoes in the same container next year.
- Row covers to block beetles while allowing pollination (if growing flowering varieties).
Harvest promptly when flowers appear to avoid overcrowding and disease spread.
What can I plant with potatoes in containers to save space?
Potatoes are heavy feeders, so pair them with companion plants that thrive in similar conditions:
- Leafy greens (lettuce, spinach) – harvest greens early before potatoes fill the container.
- Bush beans – fix nitrogen in the soil, benefiting potatoes.
- Onions or garlic – deter pests like potato beetles.
- Marigolds – repel nematodes and add color.
Warning: Avoid planting tomatoes or peppers nearby—they share diseases (like blight). Stick to low-growing, fast-maturing companions!
Wrapping up and next steps
Growing seed potatoes in containers is a rewarding way to enjoy fresh, homegrown spuds—even in small spaces! With the right setup, you’ll harvest delicious potatoes without needing a traditional garden. Whether you’re a beginner or a seasoned gardener, this method proves that big yields don’t require big plots.
Ready to dig in? Start by choosing your container and planting your seed potatoes this season. Soon, you’ll be feasting on your homegrown harvest—one container at a time! 🌱