
Propagation
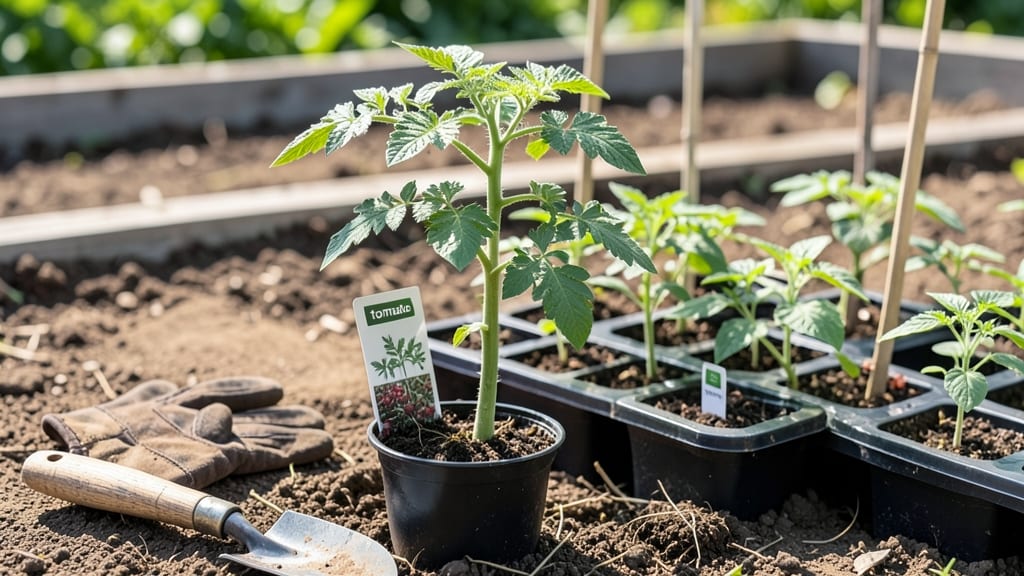
Growing tomatoes from seed outdoors means you'll taste sun-ripened fruit straight from your own plot—60 days faster than buying transplants. 🌱 I learned the hard way that skipping the seed stage means missing out on heirloom varieties and the sheer joy of watching tiny seedlings turn into towering plants.
The secret isn't complicated: start seeds indoors 6-8 weeks before your last frost, then harden them off before transplanting when soil warms to 60°F.
You'll need basic supplies: seed-starting mix, small pots, a sunny windowsill or grow light, and patience. The biggest mistake beginners make is overwatering—seedlings rot faster than they grow. Instead, keep soil lightly moist and use a spray bottle for precision.
Once seedlings have two true leaves, they're ready to move outdoors gradually, starting with just an hour of sunlight per day.
By transplant time, your seedlings will be stocky and ready to thrive in the garden. Space them 18-24 inches apart, stake them early, and watch as they explode with growth.
The first ripe tomato might not be perfect, but every one after that? That's the payoff—homegrown flavor you can't get from the store.
This method works in any temperate climate, though timing shifts slightly north or south. Whether you're growing cherry tomatoes for snacks or beefsteaks for sauces, the process is the same. Let's get those seeds started—your summer harvest depends on it.
📚 In This Guide
- What you need
- Instructions
- Tips and common mistakes
- Wrapping up and next steps
What you need
- ● Tomato seeds: Choose heirloom or hybrid varieties (e.g., cherry, beefsteak, or Roma). Start with 10–20 seeds—you won’t need them all!
- ● Seed-starting trays or biodegradable pots: 2–3 inch deep, with drainage holes. 10–12 cells per tray is ideal.
- ● Seed-starting mix: Lightweight, sterile potting soil (avoid garden soil—it’s too dense!). A 10–15 lb bag covers most starts.
- ● Grow lights or a sunny windowsill: Seeds need 12–16 hours of light daily until transplanting.
- ● Spray bottle: For gentle watering (a 16 oz bottle with a fine mist nozzle works perfectly).
- ○ Plastic wrap or humidity dome: Keeps seeds cozy until germination (optional but helpful!).
- ● Garden beds or large containers: At least 18–24 inches deep and wide, with well-draining soil. Add compost or aged manure (5–10 lbs per 4’x4’ bed).
- ● Tomato cages or stakes: 6–8 ft tall for indeterminate varieties (or 4–5 ft for determinate).
- ● Balanced fertilizer: 5–10–10 or 10–10–10 (follow package rates for transplanting).
- ● Mulch: Straw or shredded leaves to retain moisture and suppress weeds.
- ● Heating mat ($20–$40) for faster germination in cool climates.
- ● pH test kit ($10–$20) to ensure soil is 6.0–6.8 (tomatoes love slightly acidic soil).
- ● Epsom salt ($5–$10) for a magnesium boost (1 tbsp per gallon of water every 2 weeks).
- ● Row covers ($15–$30) to protect young plants from pests or frost.
Step-by-step instructions for growing tomatoes from seed outdoors
Here's how I turn tiny seeds into sun-ripened tomatoes—no fancy equipment, just patience and a little know-how.
🌱 Step 1: Start Seeds Indoors 6-8 Weeks Before Last Frost
Fill seed trays with 2-3 inches of moistened seed-starting mix and press lightly to settle. Plant 2-3 seeds per cell at a depth of ¼ inch, then cover with a thin layer of soil. Tomatoes need warmth to germinate—place trays on a seedling heat mat set to 75-85°F or in a sunny windowsill.
Keep the soil consistently moist but never soggy. A humidity dome helps retain warmth and moisture. You'll see sprouts in 5-10 days—wait until first true leaves appear (not the initial seed leaves) before thinning to the strongest seedling per cell. This prevents overcrowding and gives roots room to grow.
☀️ Step 2: Harden Off Seedlings for 10-14 Days
Two weeks before transplanting, move seedlings outdoors for 1-2 hours daily in a sheltered spot. Gradually increase exposure over 10-14 daysleggy growth—if seedlings stretch toward light, they need more sun or a stronger grow light indoors.
Hardening off is critical. Skipping it stresses plants, causing slow growth or even death. On the final day, leave them out overnight if temperatures stay above 50°F. Strong seedlings will have thick stems and deep green leaves by transplant time.
🪴 Step 3: Plant Outdoors After Last Frost
Choose a sunny spot with 6-8 hours of direct sun and well-draining soil. Dig holes twice as wide as the root ball but no deeper. Space plants 18-24 inches apart in rows 3 feet apart for airflow. Gently remove seedlings from trays, tease apart roots if crowded, and place in holes.
Fill holes with soil, pressing lightly to eliminate air pockets. Water deeply at the base to settle roots. Mulch with 2-3 inches of straw or grass clippings to retain moisture and suppress weeds. Avoid fertilizing immediately—newly transplanted tomatoes need time to establish roots before feeding.
💧 Step 4: Water and Support for Strong Growth
Water at the base 1-2 inches deep when the top inch of soil feels dry. Tomatoes need consistent moisture—uneven watering causes blossom-end rot or cracked fruit. Use drip irrigation or soaker hoses to keep leaves dry, reducing disease risk. Avoid overhead watering, especially in the evening.
Install cages or stakes at planting time to support vines. Tomatoes grow fast—if left unsupported, they’ll sprawl and fruit will rot on the ground. Tie main stems to stakes every 2-3 weeks as they grow. Prune suckers (small shoots in leaf axils) to direct energy to fruit production, not foliage.
✂️ Step 5: Prune and Harvest for Maximum Yield
Remove suckers (the small shoots between the main stem and branches) regularly to improve airflow and fruit size. Pinch off the top of the plant when it reaches your trellis or cage to stop vertical growth and encourage ripening. Deadhead spent blossoms to redirect energy to new fruit—just twist them off by hand without pulling the stem.
Harvest when tomatoes are fully colored and slightly soft to the touch. Pick in the morning for best flavor and to prevent pests. Ripe tomatoes store at room temperature; unripe ones ripen faster in a paper bag with a banana. With proper care, you’ll have 60 days of sun-kissed harvests from those tiny seeds.
Tips & tricks for perfect sun-kissed tomatoes from seed
Here's what I've learned after growing hundreds of tomato plants—these little details make all the difference between scrappy seedlings and thriving vines.
Warmth is Everything: Those 75-85°F heat mat instructions aren't just suggestions—they're non-negotiable for germination. I've tried sunny windowsills in winter and watched seeds fail to sprout. If you don't have a heat mat, place trays on top of your fridge (not inside) for consistent warmth. The difference in germination rates is night and day.
Thinning Strategy: When you're thinning to the strongest seedling per cell, don't just pull—snip with clean scissors at soil level. This prevents disturbing the roots of your kept seedlings. I've seen too many gardeners accidentally uproot their winners while trying to remove the weaker ones. Also, save those thinned seedlings—they'll often grow into decent plants if transplanted immediately.
Harden Off Like a Pro: The 10-14 day hardening schedule is your plant's boot camp. I like to start with just 30 minutes on day one, then add 30 minutes each subsequent day. Watch for wilting—if leaves droop but perk up after watering, they're ready for more sun. Never skip the final overnight test unless temps drop below 50°F, or you'll shock your plants into transplant shock.
Planting Depth Matters: That ¼-inch planting depth isn't just arbitrary—it's the sweet spot for tomato seeds. Plant too shallow and they'll dry out; too deep and they'll struggle to reach the surface. Use a popsicle stick or toothpick to mark your planting depth if you're not confident with your eye. And here's a secret: if you're planting in cooler soil, add a handful of warm compost to the planting hole to give those roots a cozy welcome.
Pro Tips for Grow Tomatoes From Seed Outdoors
- Here's what I've learned after growing hundreds of tomato plants—these little details make all the difference between...
- Warmth is Everything: Those 75-85°F heat mat instructions aren't just suggestions—they're non-negotiable for germinat...
- Thinning Strategy: When you're thinning to the strongest seedling per cell, don't just pull—snip with clean scissors ...
Frequently asked questions
Got questions about growing tomatoes from seed outdoors? You’re not alone—here are some of the most common ones, answered for your peace of mind (and future harvests!).
When is the best time to start tomato seeds indoors vs. outdoors?
Start seeds 6–8 weeks before your last frost date indoors under grow lights or a sunny windowsill. If your climate is warm year-round (zones 9–11), you can direct-sow seeds outdoors in early spring as soon as soil reaches 60°F (15°C). Cold soil? Wait—tomatoes hate damp feet!
How long does it take for tomato seeds to germinate?
Most tomato seeds sprout in 5–14 days if kept 70–80°F (21–27°C) and moist. Pro tip: Use a seedling heat mat for faster germination ( 3–7 days!). Keep soil consistently damp but not soggy—overwatering drowns seeds before they even wake up!
What should I do if my tomato seedlings look leggy or weak?
Leggy seedlings mean they’re stretching for light. Move them closer to a bright window or grow light (within 2–3 inches) and rotate daily for even growth. Once true leaves appear, fertilize lightly with a balanced 10-10-10 or fish emulsion to boost strength. No sunlight? A south-facing window or LED grow bulb saves the day!
Can I grow tomatoes outdoors in containers? What size should they be?
Tomatoes thrive in containers if they have at least 5-gallon pots (bigger for indeterminate varieties like ‘Sungold’). Use well-draining potting mix and place pots in full sun (6+ hours/day). Key rule: One plant per container—crowding = disease and poor fruit. Add a tomato cage or trellis early to avoid root stress!
Why aren’t my tomato plants flowering or fruiting?
Common culprits: not enough sun (tomatoes need 6–8+ hours daily), temperature swings (below 55°F/13°C or above 90°F/32°C stunts blooms), or nutrient deficiencies (try a phosphorus-rich fertilizer like 5-10-10). Check for pests too! Aphids or whiteflies can sap energy. Solution: Prune suckers, water at the base, and hand-pollinate flowers with a soft brush if needed.
What’s the easiest tomato variety for beginners to grow from seed?
Start with determinate (bush) varieties like ‘Roma,’ ‘Celebrity,’ or ‘Stupice’—they’re compact, productive, and forgiving. For fun, try cherry tomatoes like ‘Sweet 100’ or ‘Sun Gold’ (indeterminate but disease-resistant). Pro move: Pick heirloom seeds for unique flavors (and bragging rights!).
Wrapping up and next steps
Growing tomatoes from seed outdoors is a rewarding journey that connects you to nature while delivering homegrown, sun-ripened fruit—often sweeter and more flavorful than store-bought varieties. With patience, the right conditions, and a little care, you’ll watch tiny seeds transform into thriving plants ready to feed your family 🌱✨.
Now that you’re armed with tips and tricks, why not start your seeds today? Pick your favorite variety, grab your supplies, and take the first step toward a bountiful harvest!