
Propagation
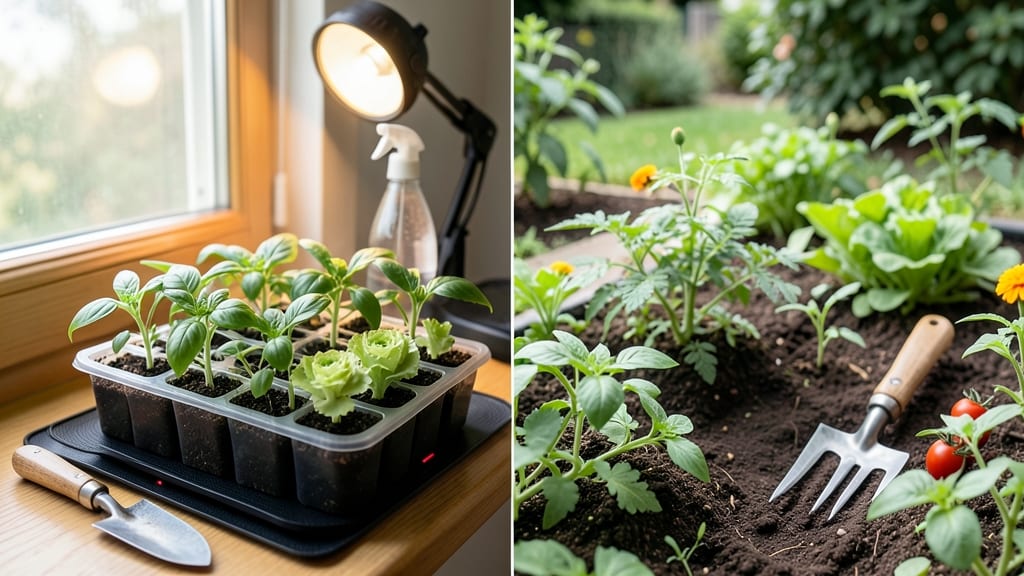
Growing from seed tips that actually work can transform your garden from store-bought plants to heirloom varieties thriving in your own soil. ✨ I've learned the hard way that skipping the basics leads to wilted seedlings and wasted time—so let's cut through the guesswork and focus on what reliably gets seeds sprouting strong.
The secret isn't complicated: it's about matching each seed's needs to your conditions. From soil moisture to temperature, every plant has preferences—like how some seeds need a cold period (called stratification) to break dormancy.
My first batch of foxglove seeds failed until I chilled them in the fridge for six weeks before planting.
You'll end up with sturdy seedlings that outperform nursery starts because you control their entire growth journey. The payoff? Plants that adapt perfectly to your climate, resist local pests better, and produce fruit or flowers earlier than anything you'd buy.
Works for everything from vegetables to wildflowers, and the same principles apply whether you're starting in a sunny window or a greenhouse. Let's get those seeds sprouting right the first time—no more disappointment.
📚 In This Guide
- What you need
- Instructions
- Tips and common mistakes
- Wrapping up and next steps
What you need
- ● Seeds: Choose high-quality, fresh seeds (check the packet for cold stratification requirements—some need 30–90 days!).
- ● Growing Medium: 1–2 small pots (3–4 inches wide) or a seed tray with drainage holes.
- ○ Optional: A mix of 50% sterile potting soil + 50% perlite or vermiculite for aeration.
- ● Cold Stratification Supplies: A sealed plastic bag with a zip-top (or a moisture-proof container like a mason jar).
- ● A damp paper towel or sphagnum moss (lightly moistened, not soggy!).
- ● Storage: A refrigerator with a temperature range of 35–40°F (2–4°C) (most home fridges work!).
- ● Planting Tools: Small spoon or tweezers (for placing seeds).
- ● Spray bottle (for gentle watering).
- ● A seedling heat mat (if your home is chilly).
- ● Grow lights or a sunny windowsill (for post-stratification growth).
- ● A humidity dome or plastic wrap (to retain moisture during germination).
- ● Plant labels + a permanent marker (to track seed varieties).
Step-by-step guide to cold stratification for reliable seed germination
Here's how to trick nature into thinking winter's already passed—so your seeds sprout like clockwork next spring.
🌱 Step 1: Select and Prepare Your Seeds
Start with seeds that require cold treatment—these are often native wildflowers, trees, or perennials. Check the seed packet for cold stratification instructions, as some need 60-90 days of cold, while others only require 30 days. I like to focus on seeds that won't germinate without this step, like trillium or serviceberry.
Remove any damaged or shriveled seeds—only use firm, plump ones. If the seeds are in a pod or cone, crack them open to expose the seed inside. This ensures moisture and cold can penetrate evenly. Label each bag with the seed type and stratification start date so you don’t forget which seeds need how long in the fridge.
💧 Step 2: Moisten the Seeds and Mix With Growing Medium
Place the seeds in a ziplock bag and add just enough sphagnum moss or sand to surround them completely. The goal is to keep them moist but not soggy—think of a damp sponge. Spritz the moss or sand with water until it feels like a wrung-out dishcloth. Too much moisture causes mold; too little prevents proper hydration.
Seal the bag but leave it slightly open—just enough for air to circulate. I poke a few tiny holes with a toothpick to avoid trapping too much humidity. This mimics natural winter conditions where seeds stay damp but aren’t waterlogged. Store the bag in a sealed container to protect it from light and curious pets.
❄️ Step 3: Stratify in the Fridge for the Required Duration
Place the sealed container in your refrigerator’s crisper drawer, where temperatures hover around 35-40°F. This mimics the natural winter chill seeds need to break dormancy. Check the seeds after 2-4 weeks—some may have already sprouted, while others will still look dormant. Don’t rush this step; consistency is key.
If you’re stratifying for longer than 3 months, I recommend checking the seeds monthly. Remove any that have sprouted and move them to a warm, bright spot to germinate. The rest stay cold until their time comes. Real talk: If you forget and leave them in too long, they might rot—so set a reminder!
☀️ Step 4: Plant Stratified Seeds at the Right Time
Once the required cold period is up, remove the seeds from the fridge and plant them immediately in moist, well-draining soil. For most seeds, this means sowing them ¼ to ½ inch deep, depending on their size. Larger seeds like maple or oak need deeper planting, while tiny wildflower seeds can barely be covered.
Keep the soil consistently moist but not waterlogged until germination. You’ll know it’s working when the first green shoots appear—usually within 2-6 weeks, depending on the seed. If you’re planting outdoors, wait until the soil temperature reaches 50°F and the last frost date has passed. Cold-stratified seeds are eager to grow, so don’t delay planting them!
⏰ Step 5: Monitor and Care for New Sprouts
Once seedlings emerge, move them to a bright, indirect light spot indoors or a sheltered outdoor area. If you notice leggy growth, they’re stretching for light—adjust their position within 4 inches of a grow light or a south-facing window. Thin seedlings if they’re crowded, giving each plant 2-3 inches of space to avoid competition.
Water gently at the base to avoid disturbing the roots. Overwatering now can cause damping-off, a fungal disease that turns seedlings into sad, mushy stems. If you see yellowing leaves, it’s usually a sign of too much moisture or poor drainage. With cold stratification, your germination rates should be 80-90%, so don’t be surprised if your seedlings outperform store-bought starts!
Tips & tricks for perfect cold stratification
Took me years of trial and error to master these cold stratification secrets—here's what actually works in my garden.
Seed Selection: Not all seeds need stratification! Always double-check the seed packet for cold requirements. For example, trillium and serviceberry seeds absolutely need it, but many annuals like marigolds don't. I keep a separate bag just for seeds that require this winter trick—it saves confusion later.
Moisture Balance: The damp sponge test is your best friend here. After spritzing your sphagnum moss or sand, squeeze it gently—water should drip out slowly, not pool. Too wet and you'll get mold; too dry and the seeds won't break dormancy. I use a spray bottle with a fine mist setting to control moisture precisely without overwatering.
Fridge Placement: Your refrigerator's crisper drawer at 35-40°F is perfect, but placement matters. Store containers on the middle shelf where temps are most consistent. Avoid the door where temperatures fluctuate wildly when you open it. I also wrap my containers in a thin towel to prevent temperature shocks from the fridge light cycling on/off.
Monthly Check-In: For long-term stratification (3+ months), set calendar reminders to check your seeds monthly. Some seeds might sprout earlier than expected, especially if they're particularly sensitive. When you do check, handle seeds gently—just peek through the container to avoid disturbing their moisture balance. I keep a small notebook by my fridge to track which seeds I've checked and when.
Pro Tips for Growing From Seed Tips
- Took me years of trial and error to master these cold stratification secrets—here's what actually works in my garden.
- Seed Selection: Not all seeds need stratification! Always double-check the seed packet for cold requirements. For exa...
- Moisture Balance: The damp sponge test is your best friend here. After spritzing your sphagnum moss or sand, squeeze ...
Frequently asked questions
Got questions about cold stratification and growing from seed? You’re not alone! Here are some of the most common concerns—and their solutions—to help you succeed with your cold-treated seeds.
What is cold stratification, and why do some seeds need it?
Cold stratification mimics winter conditions, breaking seed dormancy for species like Echinacea or Delphinium. Many native wildflowers and trees (e.g., apple or oak) require this process to germinate reliably. Without it, seeds may stay dormant for months—or never sprout!
How long should I cold-stratify my seeds?
Most seeds need 4–12 weeks in the fridge (34–40°F). Check seed packets for specifics—some, like Peonies, may need up to 6 months. Place them in a sealed bag with damp paper towels, then monitor moisture weekly to avoid mold.
Can I skip cold stratification if I plant seeds outdoors in fall?
Yes! Nature handles it for you. Plant seeds in late fall (before hard frost) in well-draining soil. They’ll experience natural cold exposure over winter. Just ensure they’re in a protected spot to avoid rodent damage or drying out.
What if my seeds rot or mold during stratification?
Mold or rot usually means too much moisture. Use damp (not soggy) paper towels and store seeds in a breathable container (like a ziplock with holes). If you see fuzz, discard the batch—contamination spreads quickly. Try again with fresh seeds!
Are there seeds that shouldn’t be cold-stratified?
Yes! Tropical plants (e.g., Avocados, Orchids) and many vegetables (like Tomatoes or Peppers) do not need cold treatment. Over-chilling can damage them. Always check seed packet instructions or a reliable germination database.
Wrapping up and next steps
Growing from seed is a rewarding journey, and mastering cold stratification can unlock unexpected success with tricky varieties. Whether you're a beginner or a seasoned gardener, these tips will help you boost germination rates and nurture healthier plants. 🌱✨
Now that you're armed with knowledge, take the next step—try cold-stratifying a few seeds this winter! Start small, experiment with different methods, and enjoy the magic of watching life sprout from tiny seeds. Happy gardening!