
Lawn
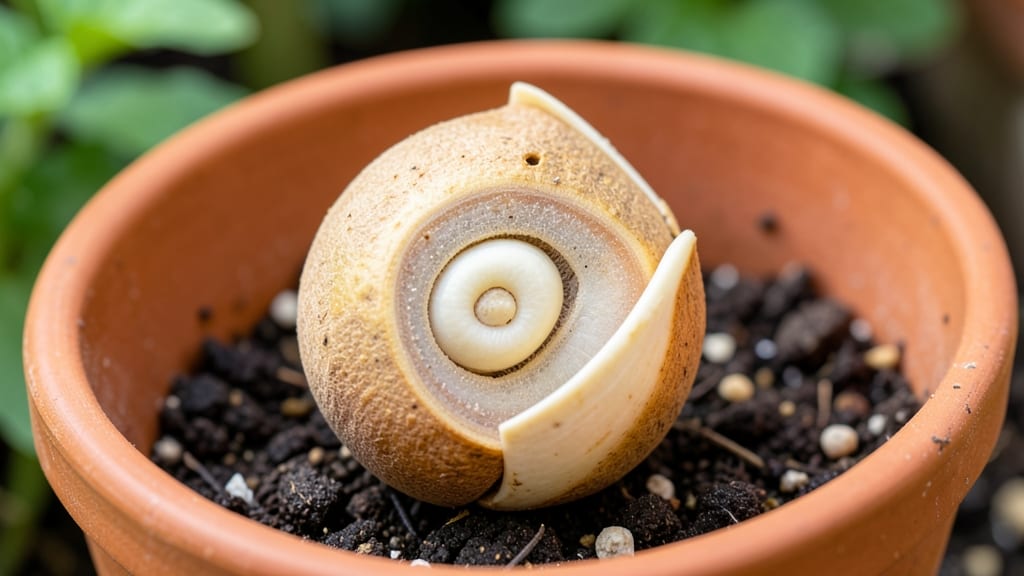
A diagram of a seed with labels unlocks the secrets of your garden’s potential—let’s explore what’s inside. 🌱 The seed coat is the tough outer shell that protects everything within, while the embryo (your future plant) contains the radicle (root starter), plumule (shoot starter), and cotyledons (seed leaves).
Each part plays a critical role in breaking through soil and reaching for sunlight.
The micropyle acts like a tiny door, letting water seep in to kickstart germination. Without it, the seed stays dry and dormant. Meanwhile, the endosperm (in some seeds) stores energy for early growth, while cotyledons either absorb nutrients or become the first true leaves.
Understanding these parts turns guesswork into a foolproof gardening strategy.
By visualizing this breakdown, you’ll spot why some seeds sprout faster or struggle to emerge. The radicle is the first to push down, anchoring the plant, while the plumule stretches upward toward light. This isn’t just theory—it’s the science behind every seed you plant.
Whether you’re teaching kids or troubleshooting slow germination, this diagram becomes your go-to reference. Grab a magnifying glass, and let’s grow smarter, not harder. The magic starts with knowing what’s inside that tiny package.
📚 In This Guide
- What you need
- Instructions
- Tips and common mistakes
- Wrapping up and next steps
What you need
- ● Seed specimen: A dissected seed (e.g., bean, sunflower, or pea) with intact parts—1-2 seeds per diagram.
- ● Magnifying glass: 10x magnification for close-up observation.
- ● Ruler or measuring tape: 12-inch (30 cm) or longer for precise labeling.
- ● Graph paper or whiteboard: 8.5x11-inch (22x28 cm) or larger for sketching.
- ● Fine-tip markers: Black and colored (3-4 shades) for labeling and detailing.
- ● Scissors or scalpel: For careful dissection (use gloves for safety!).
- ● Labeling guide: Printed or digital reference of seed anatomy (e.g., seed coat, radicle, cotyledon).
- ● Colored pencils or pastels: For a lifelike, shaded diagram.
- ● Digital tablet/stylus: If creating a digital diagram (e.g., Procreate, Adobe Illustrator).
- ● 3D modeling software: For an interactive seed diagram (e.g., Tinkercad, Blender).
- ● Seedling tray & soil: For a real-time growth comparison alongside your diagram.
How to identify key seed structures for successful germination
Understanding a seed's anatomy unlocks the secrets to faster, healthier plant starts.
🌱 Step 1: Locate the Seed Coat and Understand Its Protective Role
The outermost layer you'll see is the seed coat, a tough, often waterproof barrier that shields the embryo inside. This isn't just packaging—it regulates moisture intake and prevents premature germination. Look for the hilum, a small scar or indentation where the seed attached to the plant. This is your orientation point, always facing downward when planting.
Run your fingernail gently along the seed's edge—you'll feel the coat's texture vary slightly. Thicker areas protect against physical damage, while thinner spots often indicate where the root will emerge first. Never damage this layer when handling seeds, as it's their first line of defense against disease.
🌿 Step 2: Find the Micropyle and Understand Water Entry
On one side of the seed coat, look for a tiny pore called the micropyle. This is the seed's water intake valve—critical for germination. Hold the seed up to light and rotate it until you see a faint line or dot. This is where water first enters to activate the embryo.
The micropyle's position varies by plant family. In beans, it's often near the hilum, while in grains it may be on the opposite side. Trace this pore with your fingertip—you'll feel a slight depression. This is why seeds planted too deep fail to germinate; the micropyle must stay near the soil surface to access moisture.
☀️ Step 3: Identify the Embryo and Its Three Critical Components
Inside the seed coat lies the embryo, containing three essential parts. The radicle is the embryonic root, positioned closest to the micropyle. It's the first structure to emerge during germination. Next is the plumule, the future shoot that will become the plant's stem and leaves, located above the radicle.
Between these lies the cotyledons (seed leaves), which store nutrients and will unfurl first. In dicot seeds (like beans), these appear as two distinct lobes, while monocots (like corn) have one. Hold a soaked seed between your fingers—you can sometimes see the radicle's white tip through the translucent seed coat.
💧 Step 4: Locate the Endosperm and Understand Its Nutrient Role
Many seeds contain endosperm, a food reserve that fuels early growth. In monocots like wheat, this fills most of the seed. In dicots like peas, the endosperm is often absorbed by the cotyledons. Press gently on a soaked seed—you'll feel a denser center where these nutrients are stored.
This is why some seeds need scarification (scratching) to germinate—they can't access their internal food stores without breaking through the coat. The endosperm's presence explains why some seeds (like corn) germinate faster than others (like oak trees), which rely entirely on their cotyledons for initial nourishment.
⏰ Step 5: Observe the Scutellum in Monocot Seeds
In monocotyledonous seeds (like grasses and grains), look for the scutellum, a shield-shaped structure that absorbs nutrients from the endosperm. It's positioned between the embryo and food reserves. Hold a wheat seed against light—you'll see a faint triangular shape where the scutellum attaches.
This structure explains why monocots often germinate differently than dicots. The scutellum's role is so critical that in some species, it can continue growing even after the seedling emerges, forming part of the plant's early root system. Never confuse it with the cotyledon—it serves a completely different nutritional function.
Tips & tricks for creating a detailed seed diagram
Mastering seed anatomy makes all the difference when teaching germination principles. These insights will help you create a clear, accurate diagram that highlights the key growth zones.
Lighting Technique: Use a bright, angled light source to illuminate the seed's structure from multiple directions. This helps reveal subtle details like the micropyle's faint line or the scutellum's triangular shape. I always place my seed between two light sources—one directly above and one at a 45-degree angle—to capture all anatomical features clearly. This method reveals the seed's three-dimensional form that flat lighting misses.
Magnification Tools: A handheld magnifying glass or digital microscope (even a smartphone with a macro lens attachment) transforms this exercise from frustrating to fascinating. I've found that a 10x magnification makes the hilum and micropyle instantly visible to students who struggle to see them with the naked eye. For classroom settings, a document camera connected to a projector works exceptionally well for group demonstrations.
Seed Selection: Choose seeds with contrasting structures for your diagram—pair a bean seed (dicot) with a wheat seed (monocot) to showcase both types. I recommend using dried peas for dicots (their large cotyledons are easy to identify) and wheat kernels for monocots (the scutellum becomes obvious when held against light). This visual comparison helps learners grasp how different plant families store and utilize nutrients differently.
Labeling Strategy: Use colored pencils or markers to trace each structure before adding labels: blue for the seed coat, green for the embryo components, yellow for the endosperm, and red for the micropyle. This color-coding makes your diagram instantly more understandable. I've seen students create diagrams where all labels look the same, making it impossible to distinguish between the radicle and plumule—don't let that happen!
Pro Tips for Diagram Of A Seed With Labels
- Mastering seed anatomy makes all the difference when teaching germination principles. These insights will help you cr...
- Lighting Technique: Use a bright, angled light source to illuminate the seed's structure from multiple directions. Th...
- Magnification Tools: A handheld magnifying glass or digital microscope (even a smartphone with a macro lens attachmen...
Frequently asked questions
Got questions about seed anatomy? Here are some of the most common ones—and their answers—to help you understand how seeds work and why their structure matters for lawn growth!
What are the main parts of a seed labeled in a diagram?
A typical seed diagram labels these key parts: seed coat (protective outer layer), embryo (the baby plant), cotyledons (seed leaves), radicle (future root), and micropyle (tiny opening for water entry). Each plays a role in germination and early growth.
Why is the seed coat important in a seed’s anatomy?
The seed coat acts like a natural shield, protecting the embryo from physical damage, dehydration, and pests. It also controls water absorption through the micropyle, ensuring the seed germinates only when conditions are ideal for your lawn’s success.
How long does it take for a seed to germinate after planting?
Germination time varies by seed type! Grass seeds typically sprout in 7–21 days, while some wildflowers or vegetables may take 2–4 weeks. Check the seed packet for specifics—soil temperature, moisture, and sunlight all play a role in speeding up or slowing down the process.
Can I use a magnifying glass to see seed parts without a microscope?
A hand lens or magnifying glass (10x magnification) works great for spotting seed coats, cotyledons, and even the radicle in larger seeds like beans or sunflowers. For tiny grass seeds, a dissecting microscope (50x–100x) reveals finer details like the micropyle.
What should I do if my seeds aren’t germinating?
Start with the basics: check moisture (soil should stay damp but not soggy), verify temperature (most seeds need warmth, 60–75°F), and test sunlight exposure (some seeds need light to germinate). If issues persist, try soaking seeds overnight or adjusting planting depth—too deep = delayed sprouting!
Wrapping up and next steps
Understanding the diagram of a seed with labels unlocks the secrets of how plants grow—from the tiny embryo to the mighty roots and shoots! 🌱 Each labeled part plays a crucial role in nurturing strong, healthy lawns or gardens.
Now that you’ve explored the anatomy, why not put your knowledge into action?
Ready to grow? Grab a seed packet, sketch your own labeled diagram, or even plant a test row to observe the magic firsthand. Every gardener starts with a seed—yours could be the next great green success story! 🌿