
Lawn
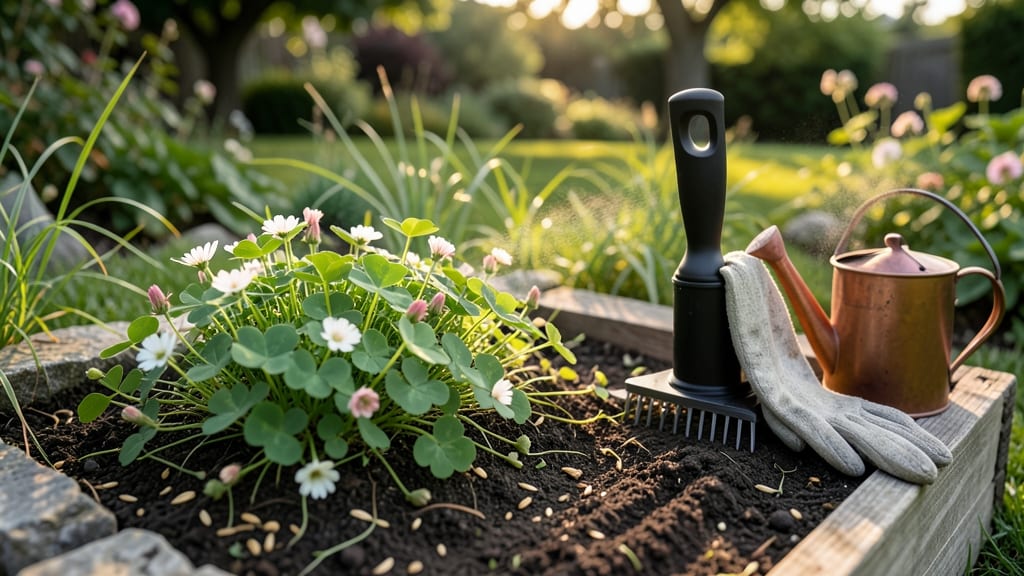
A fast-germinating clover seed mix transforms thin lawns into lush, green carpets in just 2-3 weeks—no more patchy spots or bare soil. 🌱 I’ve used this trick after overseeding failed twice, and the difference is shocking: thick coverage that crowds out weeds naturally while needing less water than grass.
The secret lies in timing and prep: plant in early spring or fall when soil temps hit 50-70°F, and aerate first to break up compacted soil. Skip the expensive starter fertilizer—clover fixes its own nitrogen. Just rake, scatter seeds thinly, and roll lightly to ensure soil contact.
By week 4, you’ll see dense, velvety clover filling gaps where grass struggled. It stays green in droughts, handles foot traffic better, and even improves soil health over time. The only catch? Avoid mowing too short—2-3 inches keeps it thriving.
Perfect for shady spots, high-traffic areas, or lawns tired of chemical treatments. Here’s how to make it work without the guesswork.
📚 In This Guide
- What you need
- Instructions
- Tips and common mistakes
- Wrapping up and next steps
What you need
- ● Clover seed mix: 5–10 lbs per 1,000 sq ft (adjust based on desired density and existing grass coverage). Look for a fast-germinating blend (e.g., Dutch white clover or microclover) for quicker results.
- ○ Lawn spreader: Broadcast or drop spreader (calibrated for even distribution). Optional: Hand-held spreader for small areas.
- ● Rake or dethatcher: To loosen soil and remove debris before seeding (bendable tines work best).
- ● Water source: Garden hose with a gentle sprinkler nozzle (or a soaker hose) for consistent moisture.
- ○ Fertilizer (optional but recommended): Starter fertilizer (low nitrogen, high phosphorus): 1–2 lbs per 1,000 sq ft.
- ● Pro tip: Use a clover-specific fertilizer (e.g., 5-10-10 NPK ratio) to boost root growth.
- ● Weather check: Seed in early spring or fall when temps are 50–75°F (avoid frost or extreme heat).
- ○ Soil test kit (optional): To check pH (ideal range: 6.0–7.0 for clover). Adjust with lime or sulfur if needed.
- ○ Mulch or straw (optional): Light layer (¼ inch) to retain moisture and protect seeds from birds.
- ● Gloves & knee pads: For comfort during prep and seeding.
Step-by-Step instructions for planting a fast-germinating clover lawn
Here's how to get a lush, quick-covering clover lawn that outpaces traditional grass.
🌱 Step 1: Prepare the Soil for Optimal Germination
Test your soil's pH first—clover thrives in slightly acidic to neutral soil (6.0-7.0). If your soil is too alkaline, mix in 1-2 pounds of sulfur per 100 square feet and wait 4-6 weeks for it to adjust. Rake the area to remove debris and loosen the top 2-3 inches of soil—clover seeds need good contact with loose, crumbly soil to germinate quickly.
Work in 1/2 inch of compost if your soil is sandy or clay-heavy. This improves moisture retention and gives seedlings the nutrients they need to establish fast. Smooth the surface with a rake, then lightly compact it with a roller or by walking over it—this ensures seeds make solid contact with the soil. Real talk: Skipping soil prep means slower germination and patchy coverage.
💧 Step 2: Spread the Seed Evenly for Uniform Coverage
Divide your clover seed mix into four equal portions—this makes spreading easier and ensures even coverage. Start at one corner of the area and walk in a crisscross pattern, scattering 1/4 of the seed mix at a time. Use a broadcast spreader for larger areas or simply hand-scatter for smaller patches. Lightly rake the seeds into the soil with a fine-toothed rake, pressing them just 1/8 inch deep—any deeper, and they won’t have enough energy to push through.
Watch for wind while spreading—clover seeds are tiny and can blow away easily. If you notice clumps forming, break them up with your fingers or a rake. Once spread, the seeds should look like a fine, even dusting over the soil. This ensures fast, uniform germination rather than sparse patches.
☀️ Step 3: Water Strategically for Fast Germination
Water the area immediately after seeding with a fine mist until the soil is moist but not saturated. Use a spray nozzle or soaker hose to avoid dislodging seeds. Keep the soil consistently moist for the first 10-14 days—this is critical for fast germination. Water lightly twice daily (morning and evening) if temperatures are above 75°F, or once daily if cooler. You’ll know you’re doing it right when the soil feels damp to the touch but doesn’t pool water.
Once the clover seedlings reach 1-2 inches tall, gradually reduce watering to once every 2-3 days. Avoid heavy watering at this stage—it can wash away seedlings or cause them to rot. If you see seedlings wilting, water deeply but only once—this teaches them to develop deeper roots faster.
✂️ Step 4: Maintain for Thick, Long-Term Coverage
Wait until the clover reaches 3-4 inches tall before your first mow—this ensures strong root establishment. Set your mower to 2-3 inches to encourage bushier growth and prevent weeds. Mow regularly (about once every 2 weeks) to keep the lawn dense and healthy. Clover is drought-tolerant once established, but during the first growing season, water deeply once a week if rainfall is below 1 inch per week.
Fertilize lightly once in early spring with a low-nitrogen, high-phosphorus fertilizer (like 5-10-10) to encourage root growth. Avoid high-nitrogen fertilizers—clover fixes its own nitrogen from the air, so too much nitrogen can harm it. If weeds start to pop up, hand-pull them early or spot-treat with a vinegar-based herbicide (avoid chemical herbicides, which can kill clover).
⏰ Step 5: Monitor and Adjust for Fast, Full Coverage
Check for germination in 7-14 days—you should see tiny green sprouts pushing through the soil. If germination is slow, lightly rake the area again to expose any buried seeds and water more frequently. Thin areas may need a second light seeding after 4-6 weeks if coverage isn’t uniform. Clover spreads quickly once established, so patience here pays off in a thick, self-repairing lawn within 6-8 weeks.
Here’s the thing—clover grows best in partial shade to full sun, but it won’t brown out like grass in deep shade. If your lawn has shady spots, focus on those first—they’ll fill in faster than sunny areas. Once fully established, your clover lawn will require far less maintenance than grass, stay green in drought, and recover from foot traffic effortlessly.
Tips & tricks for perfect clover lawn establishment
Here's what nobody tells you about getting that quick, lush clover coverage you're after.
Soil pH Precision: Don't just test your soil—act on the results immediately. If your pH is above 7.0, the 1-2 pounds of sulfur per 100 square feet needs to be worked in thoroughly to the 2-3 inch depth mentioned in Step 1. I learned this the hard way after waiting the full 4-6 weeks only to find the adjustment wasn't deep enough. Use a soil probe to verify the pH change reaches down to where your seeds will be planted.
Seed Distribution Technique: For that perfect fine, even dusting mentioned in Step 2, try this: Hold your hand about 6 inches above the soil and let the seed mix sift through your fingers as you walk. This creates a more uniform distribution than simply scattering. For larger areas, a broadcast spreader works wonders—just make sure to calibrate it properly by spreading on a tarp first and measuring the output.
Watering Strategy: The 10-14 day critical moisture window is your best friend. Set up a simple watering schedule using a timer on your hose to deliver light mistings twice daily when temperatures exceed 75°F. I use a cheap plastic timer that clicks every 12 hours—it's foolproof and prevents overwatering. Remember, the goal is damp soil, not soggy ground. You can test this by sticking your finger in—it should feel like a wrung-out sponge.
Germination Monitoring: When checking for those tiny green sprouts in 7-14 days, look closely at the edges of your lawn area first. These spots often dry out faster and can reveal germination progress before the center. If you see uneven sprouting, lightly rake the bare spots to expose any buried seeds, then water more frequently for those areas specifically. This targeted approach helps create that uniform coverage you're aiming for.
Pro Tips for Clover Seed Mix For Lawn
- Here's what nobody tells you about getting that quick, lush clover coverage you're after.
- Soil pH Precision: Don't just test your soil—act on the results immediately. If your pH is above 7.0, the 1-2 pounds ...
- Seed Distribution Technique: For that perfect fine, even dusting mentioned in Step 2, try this: Hold your hand about ...
Frequently asked questions
Got questions about using a clover seed mix for lawn? You’re not alone! Here are some of the most common concerns—and their answers—to help you get started with confidence.
When is the best time to plant clover seed for a lawn?
The ideal time to sow clover seed is in early spring or late summer/early fall. These periods offer moderate soil temperatures (50–70°F) and consistent moisture, which help seeds germinate faster. Avoid planting in extreme heat or drought—clover needs patience to establish roots!
How often should I water clover seed after planting?
Keep the soil consistently moist (not soggy!) for the first 2–3 weeks after planting. Water lightly daily (about ¼ inch) until germination occurs, then taper to 2–3 times per week. Once established, clover is drought-tolerant but thrives with 1 inch of water weekly.
Will clover attract bees or pests to my lawn?
Yes, clover does attract bees—but that’s a good thing! Bees pollinate flowers and help your lawn’s ecosystem. As for pests, clover is resistant to many lawn diseases and rarely suffers from grubs or fungi. However, overwatering can invite fungus, so balance is key.
Can I mix clover seed with grass seed for a thicker lawn?
A 50/50 mix of clover and grass seed (like Kentucky bluegrass or fescue) creates a hardier, self-repairing lawn. Clover adds nitrogen to the soil, reducing fertilizer needs, while grass provides structure. Just ensure your soil pH is 6.0–7.0 for optimal growth.
Why isn’t my clover seed germinating? Troubleshooting tips.
If your clover isn’t sprouting, check these common issues:
- Poor soil contact: Rake seeds lightly into soil (¼ inch deep).
- Too dry or too hot: Water gently and avoid planting in peak summer heat.
- Compacted soil: Aerate before planting to improve root penetration.
- Low-quality seed: Choose a certified, fast-germinating mix (like our blend!).
Patience is key—clover can take 2–4 weeks to germinate!
Wrapping up and next steps
Transforming your lawn into a lush, vibrant space is easier than you think with a clover seed mix! This fast-germinating blend not only delivers a thick, green cover but also boosts soil health and reduces maintenance.
Whether you're tackling bare patches or aiming for a resilient lawn, the right mix and a little effort can make all the difference.
Ready to take the next step? Grab your seeds, follow the steps, and watch your lawn thrive! 🌱✨ Happy gardening!